Milliamp Meter
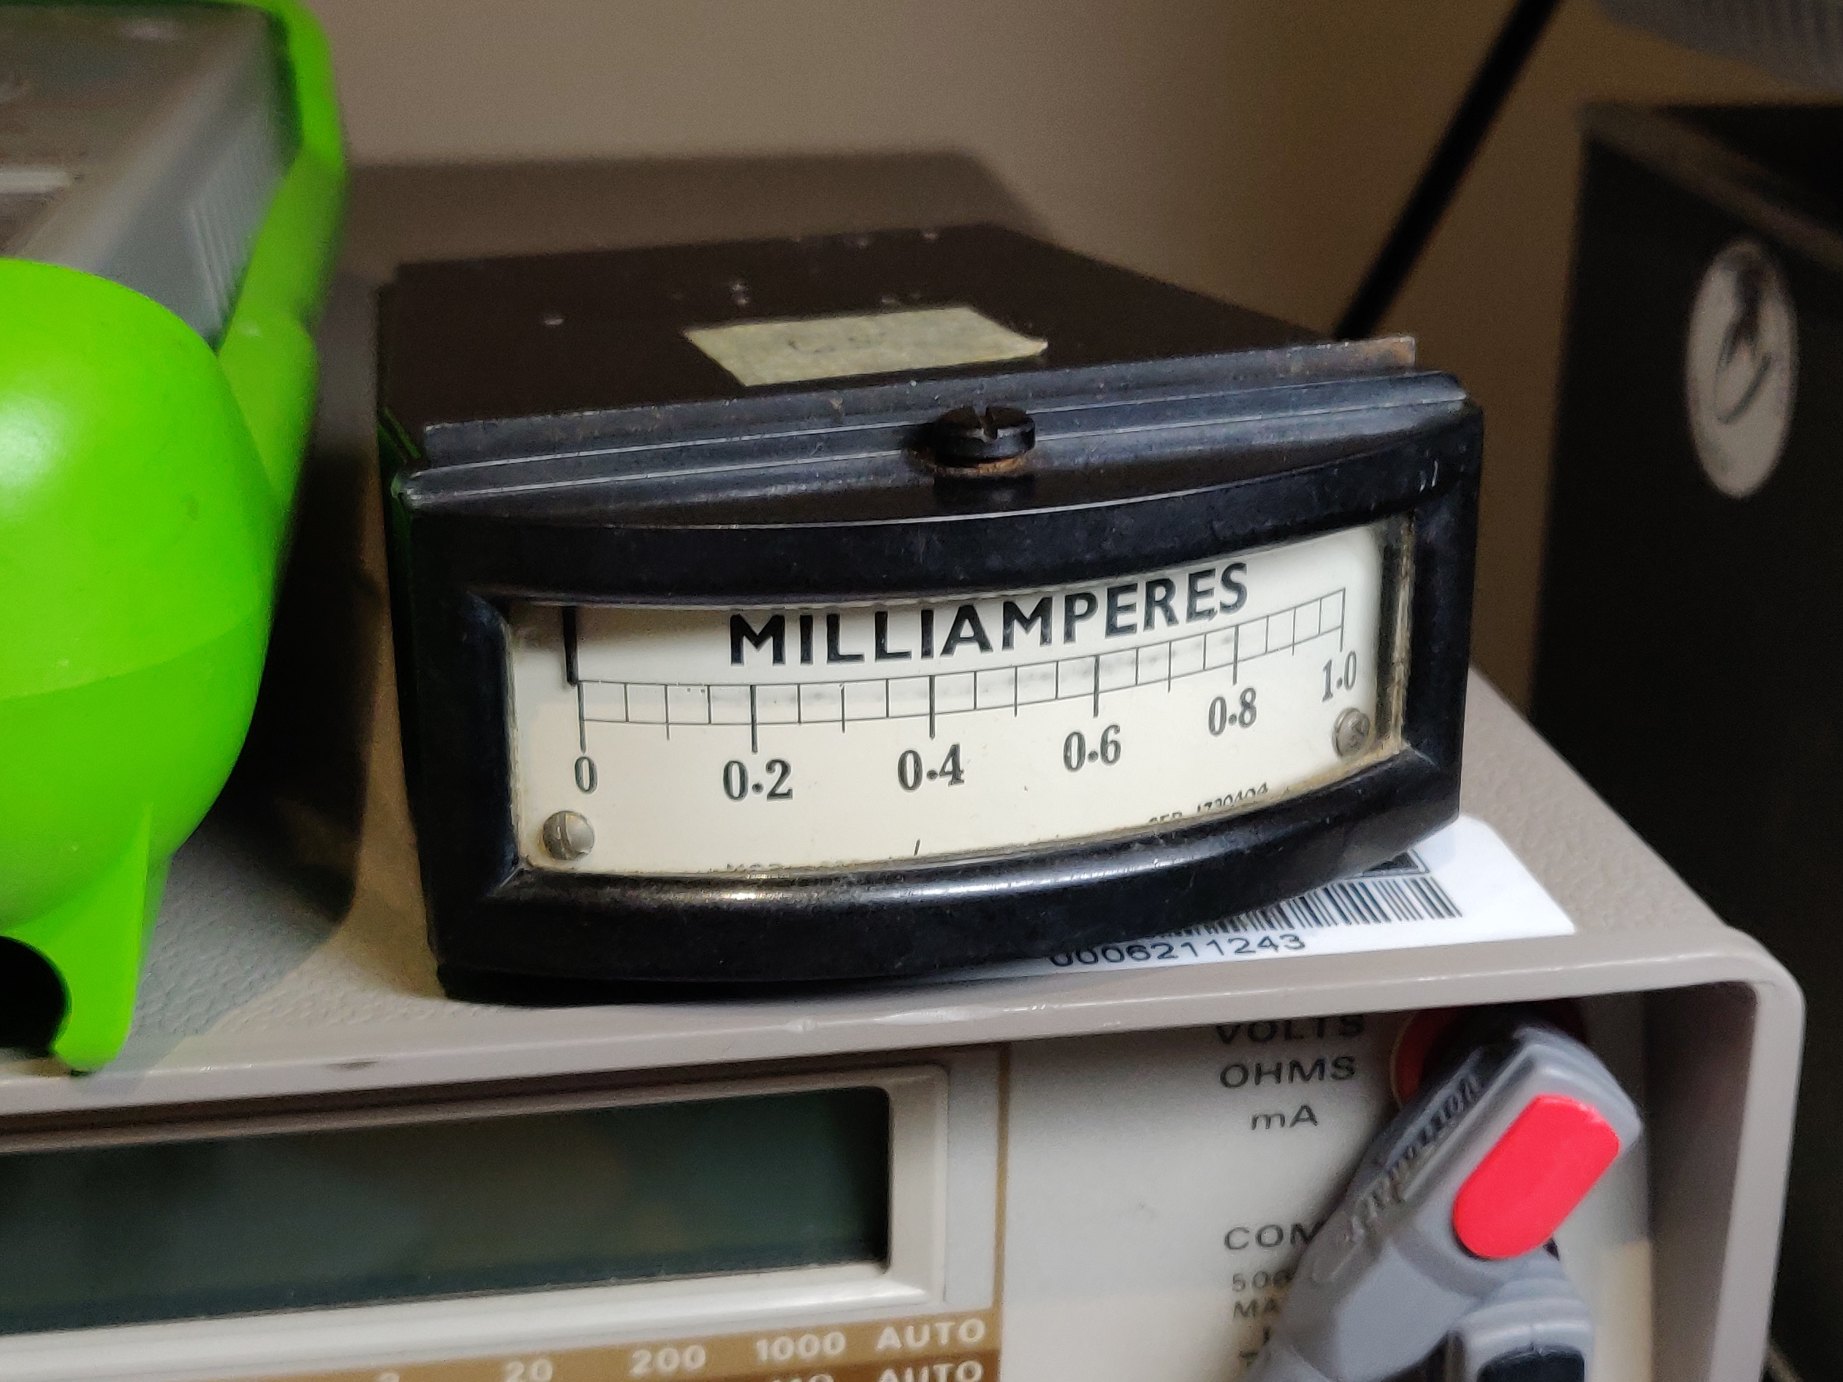
 I bought this meter as not working off ebay for a couple quid.
The indicator appeared stuck as far as I could see, and a good shake would move it around a bit, but definitely didn’t look springy.
The lines were visible where the indicator had been rubbing on the dial surface.

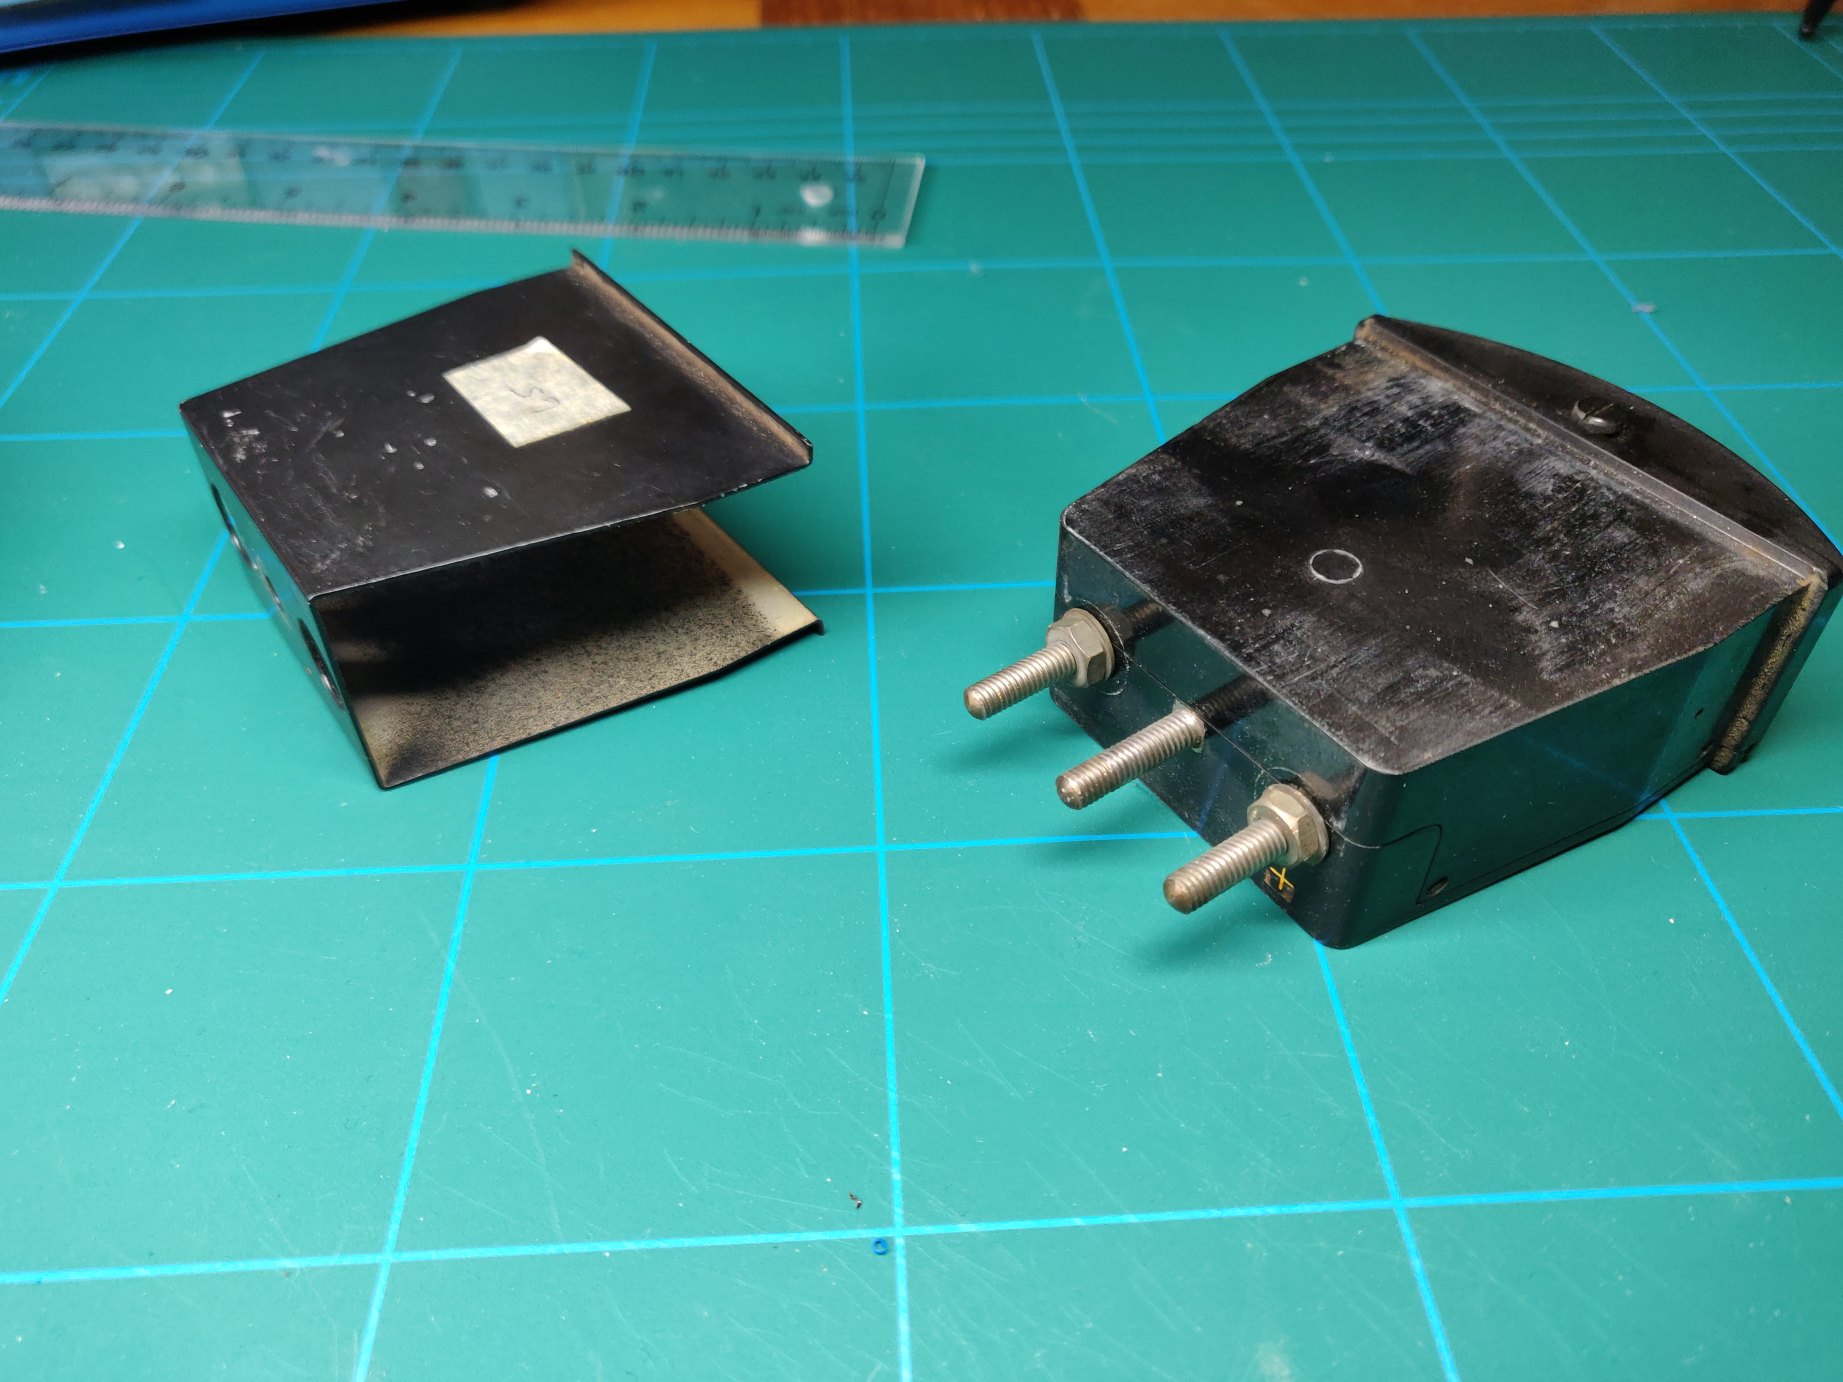
The two outer terminals on the rear were for connection for use, whilst the center one retained the flanged casing that’s used for both mounting it to a panel, and as a bit of a magnetic shield. I know this as I later discovered that the meter will always appear quite out of calibration without this fitted; just a word of warning…
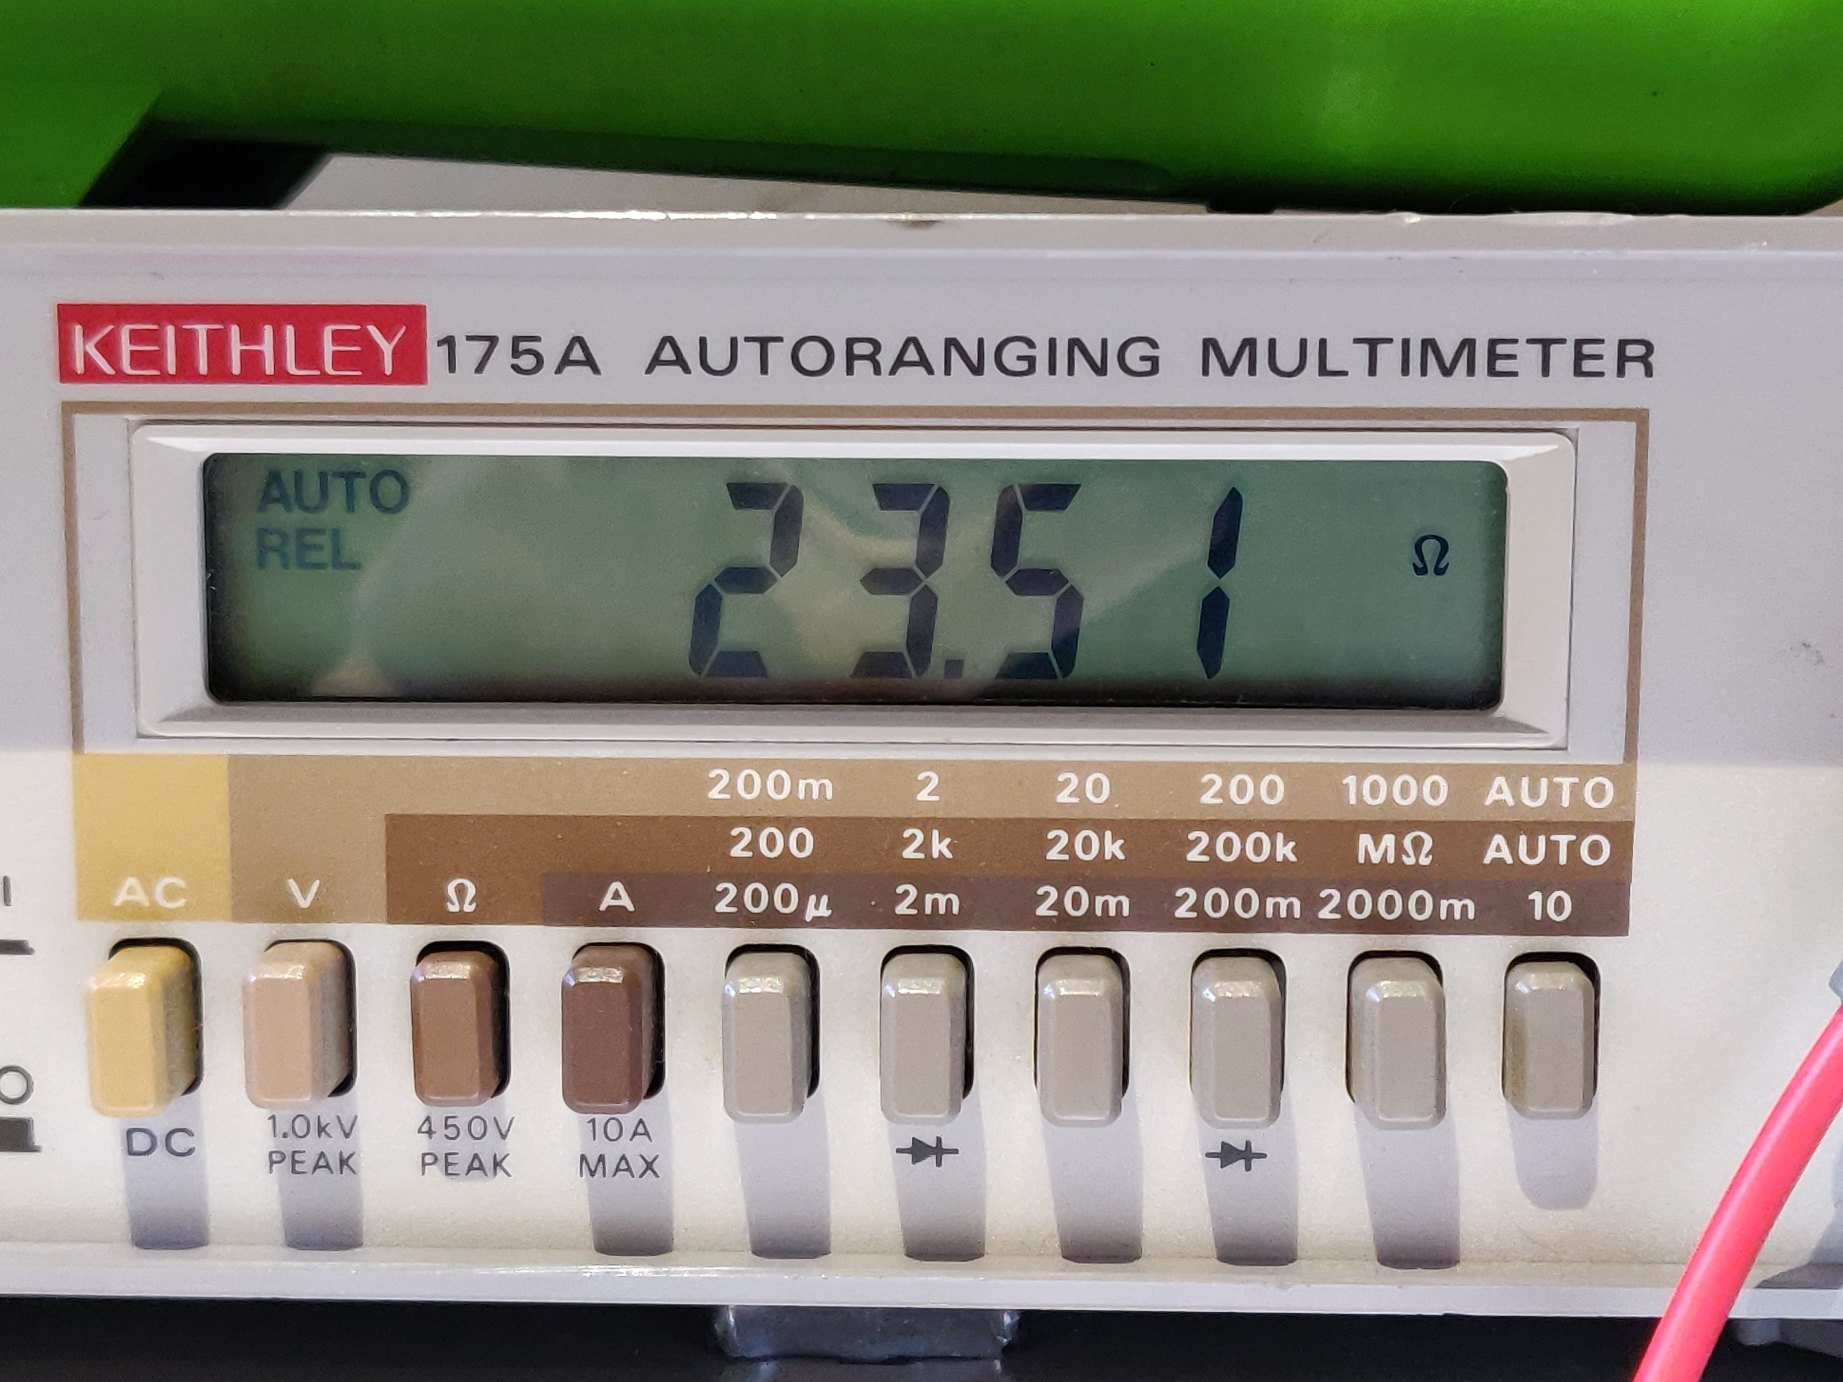
The resistance of the meter was in the expected kind of range (think 1mA through is 25mV - probably not going to ruin anyone’s day). Definitely not short or open circuit so should be grand.
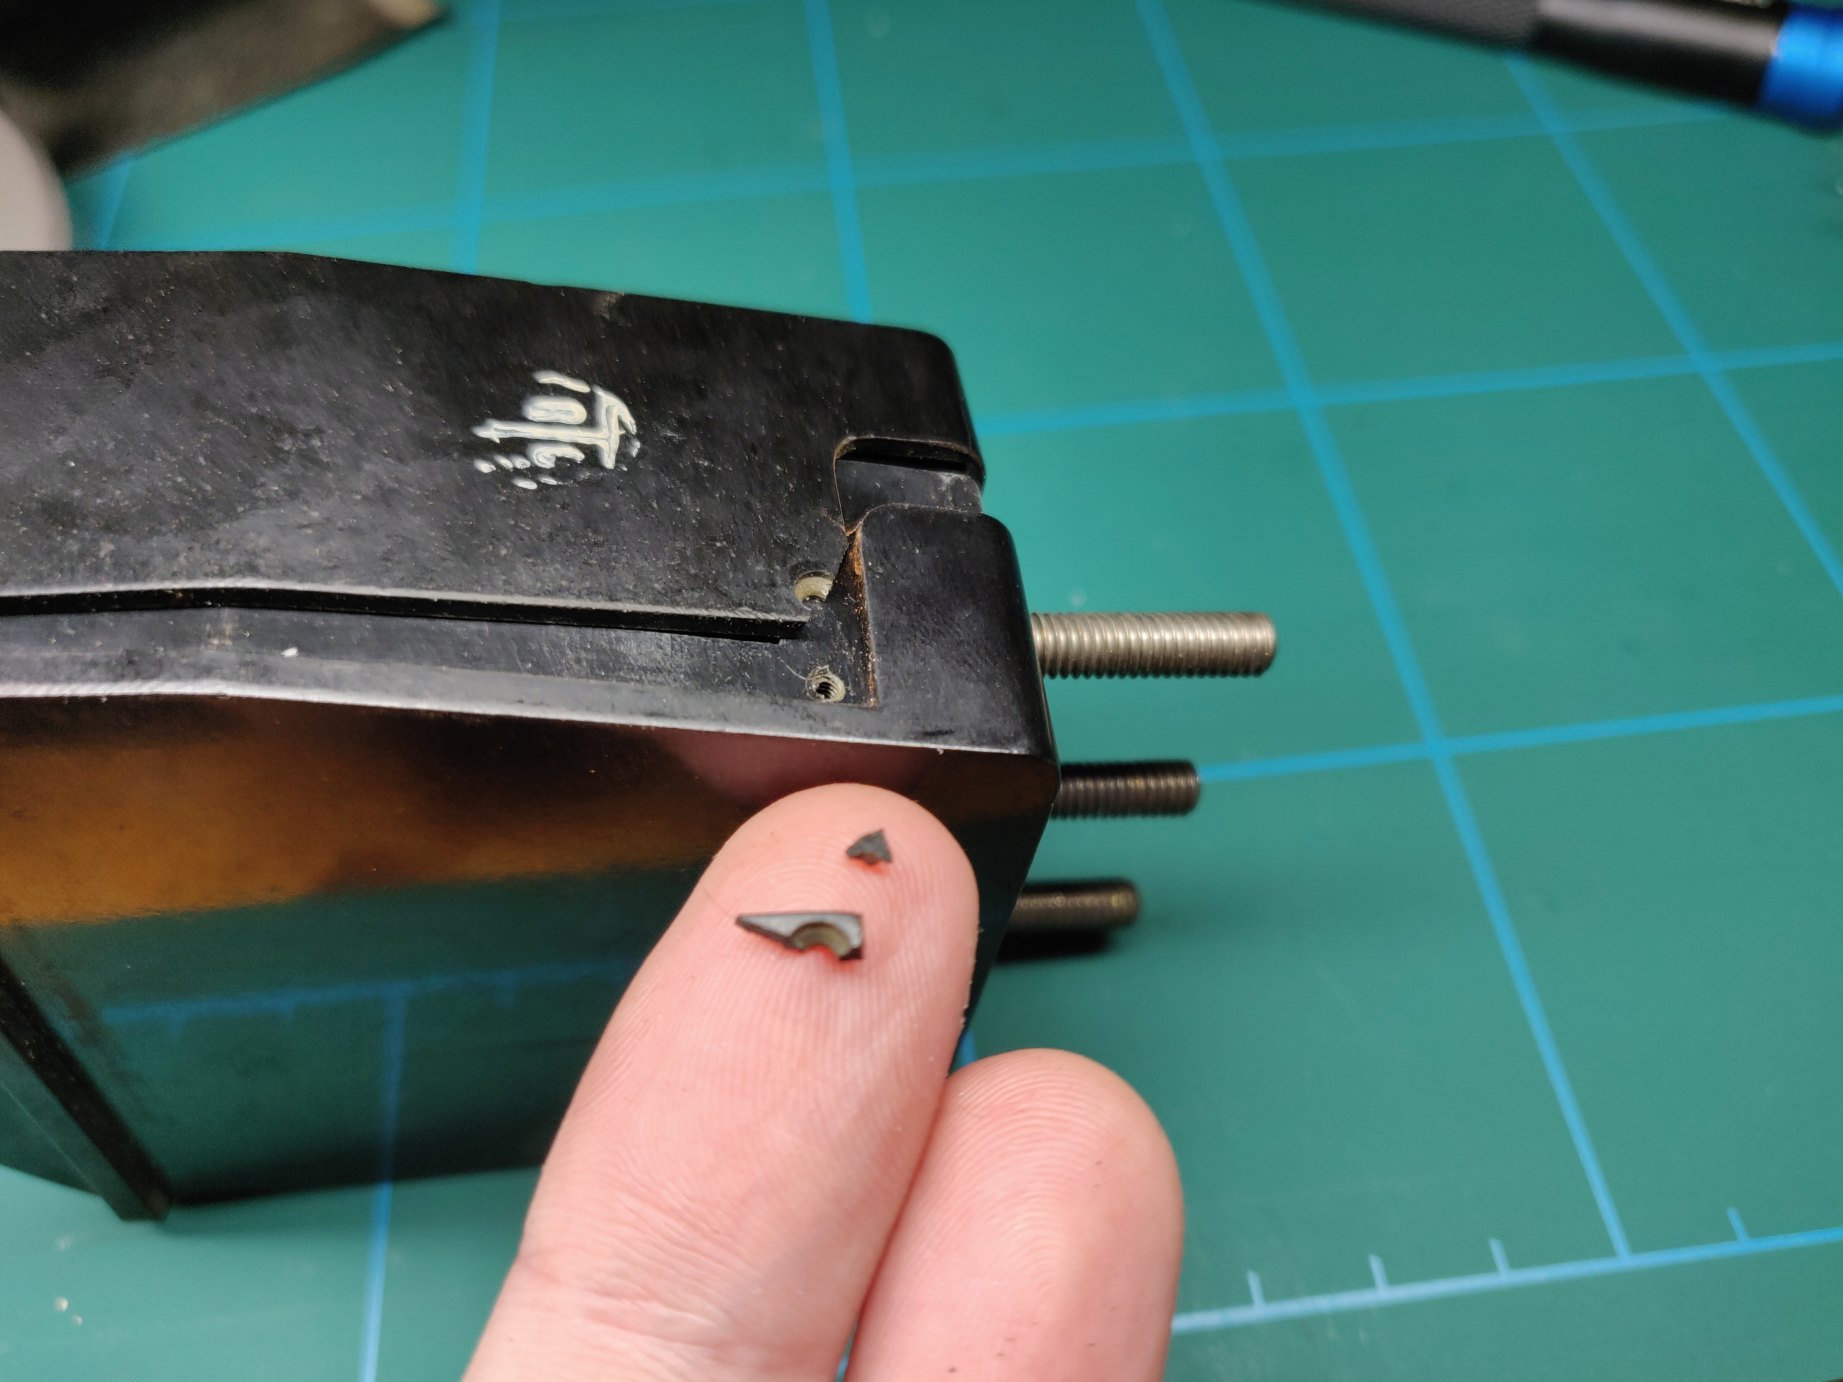
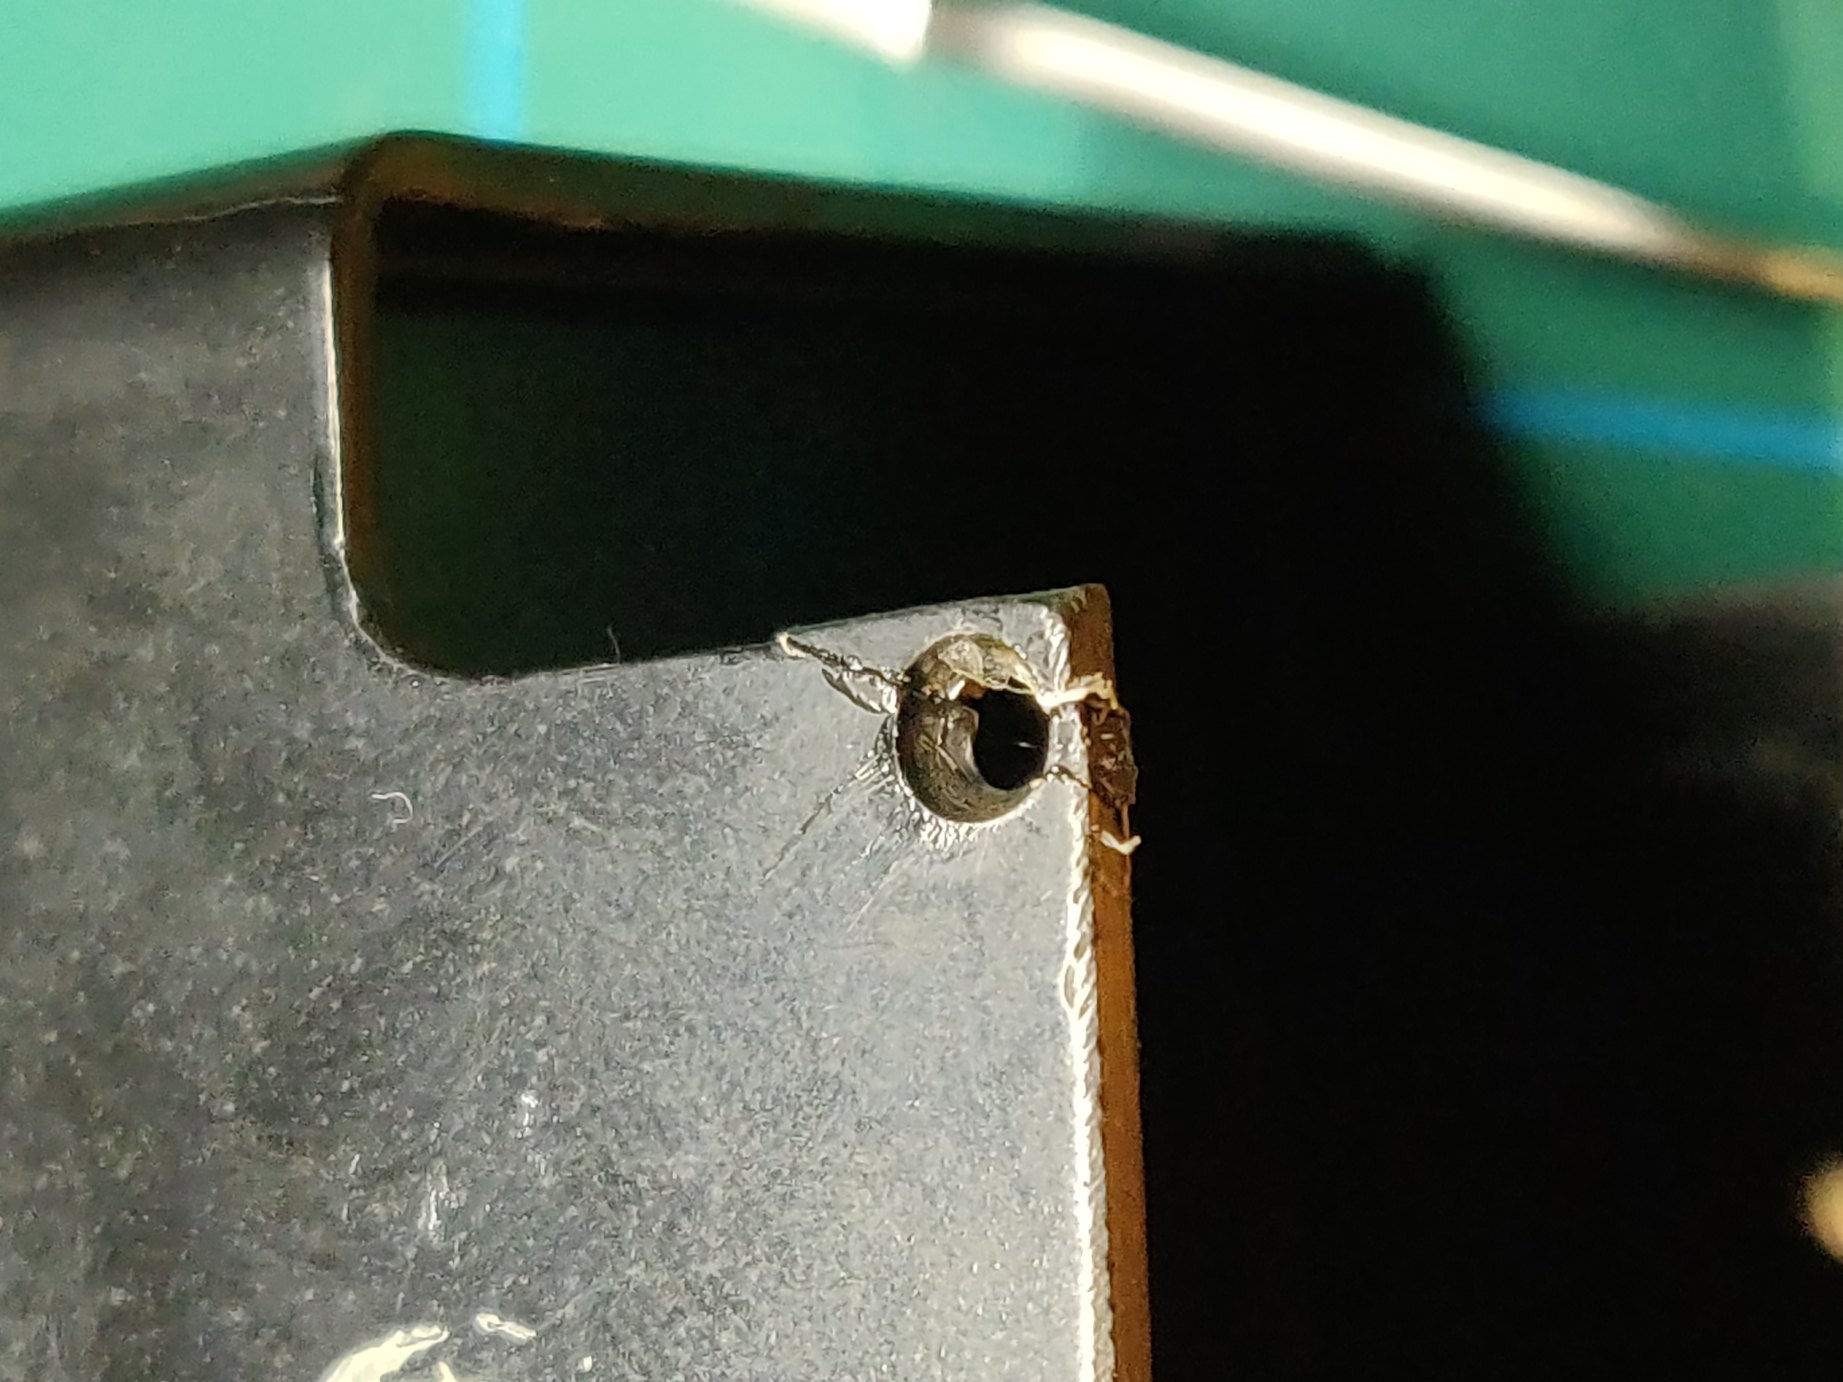
The corner of the extremely brittle casing broke off whilst removing it. Nothing a bit of super glue couldn’t solve. Okay so it’s not the prettiest, but its functional and not too awful.
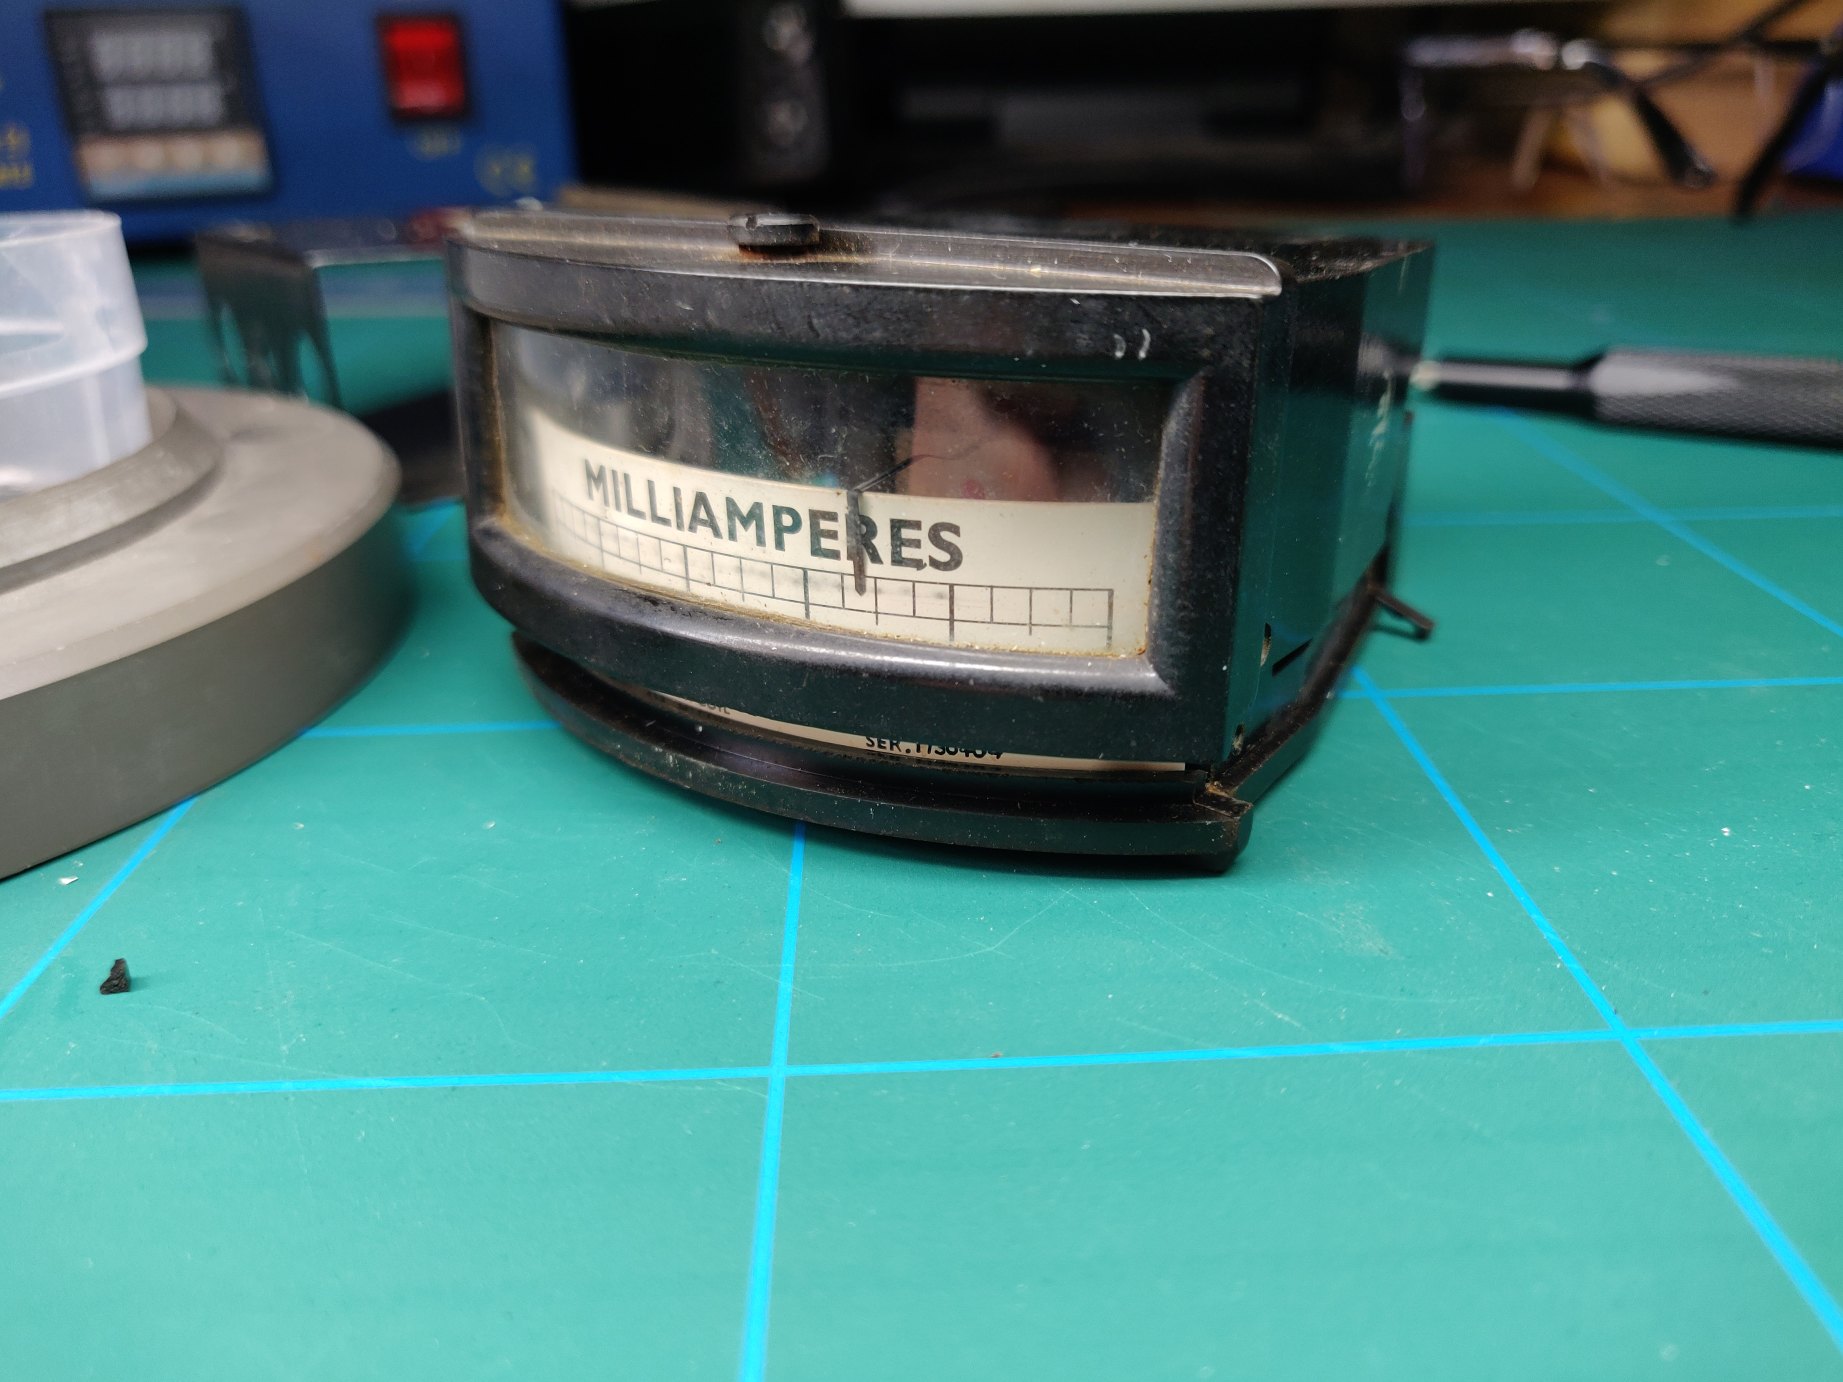
It’s a bit of a faff getting the cover on and off. Patience was key to avoid disturbing the indicator arm.
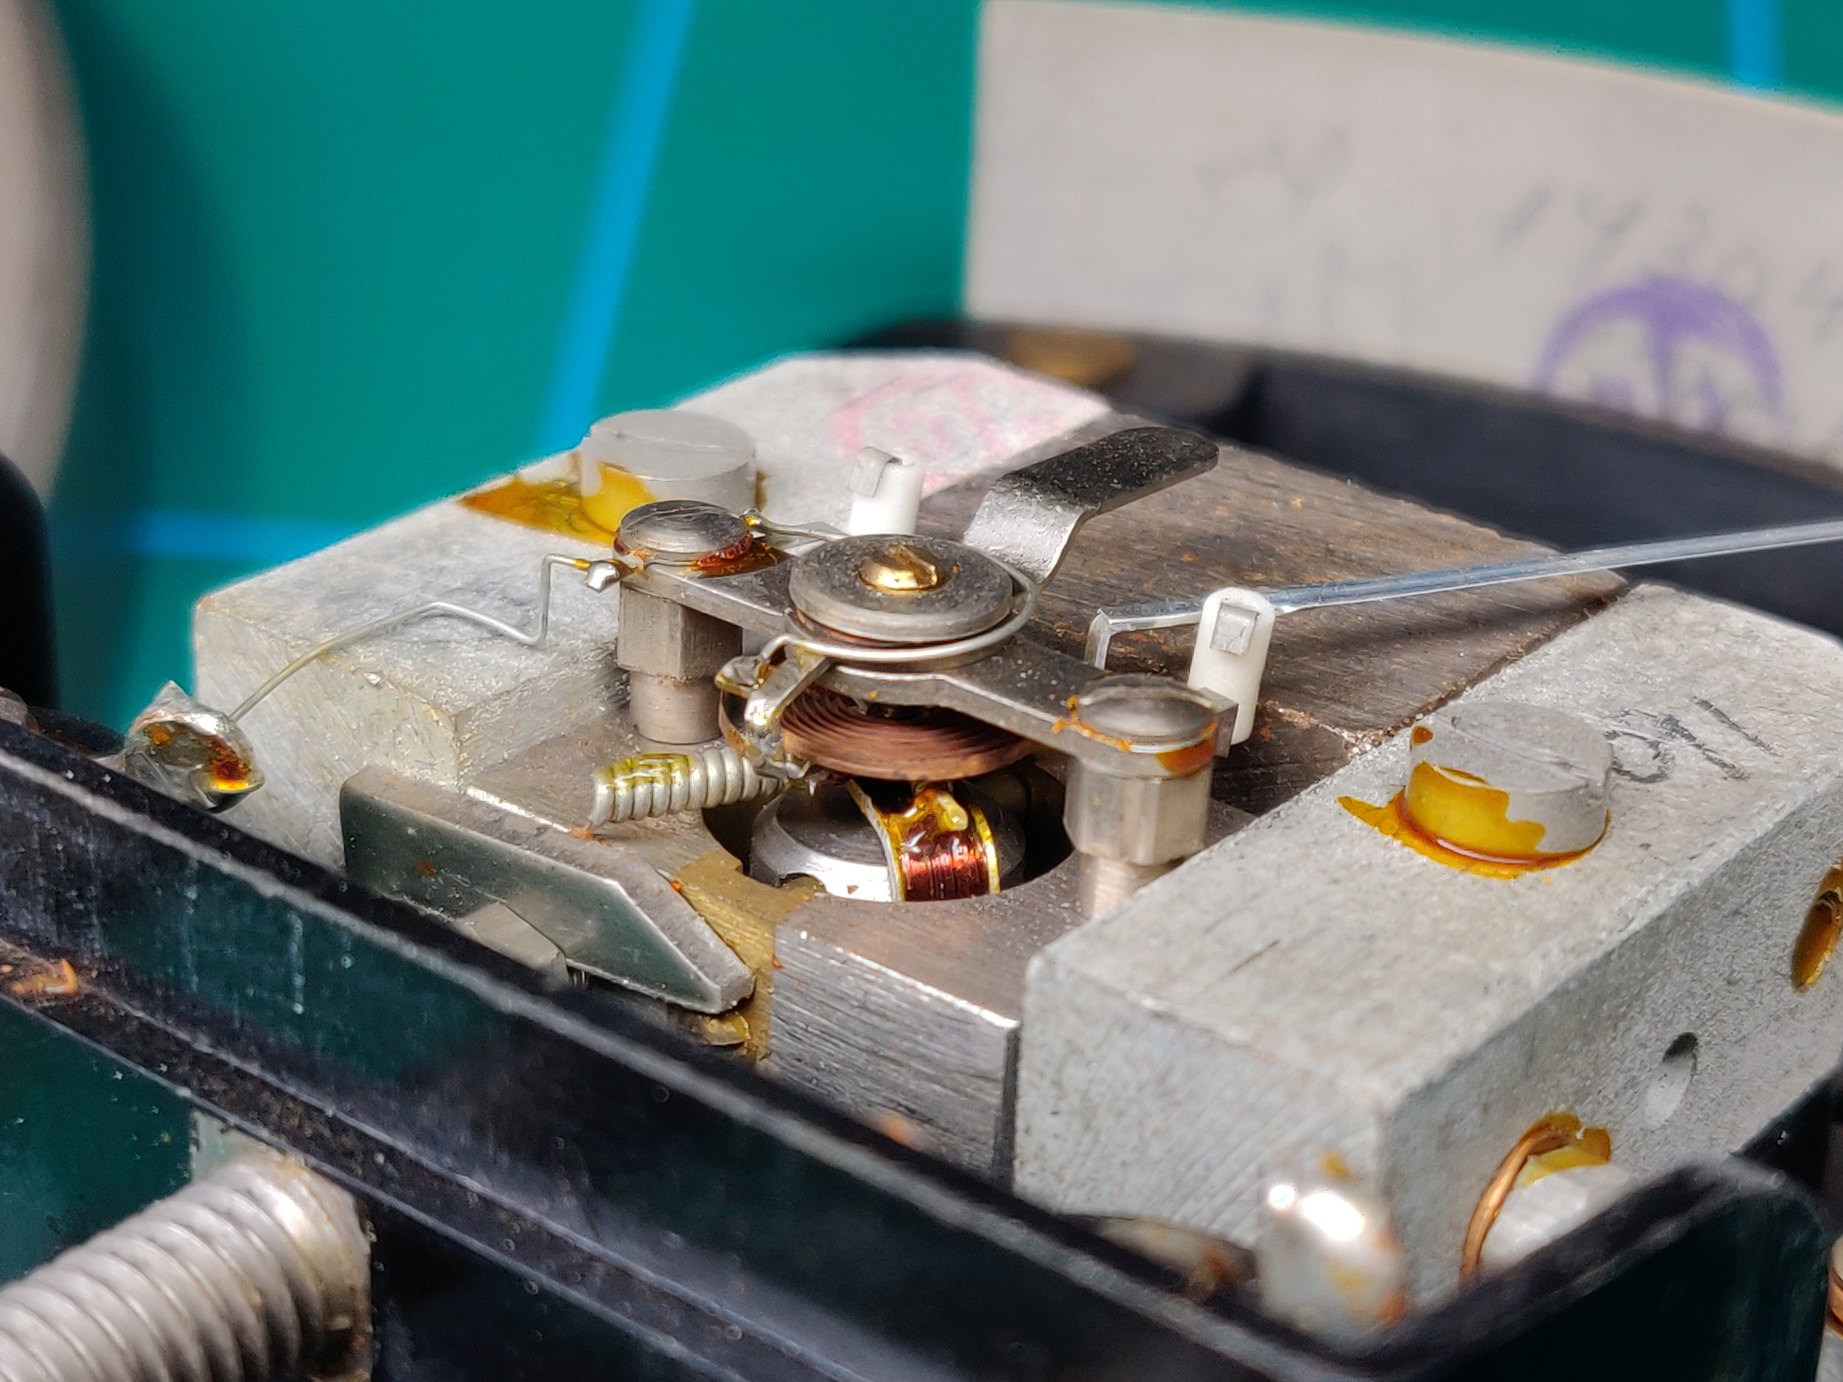
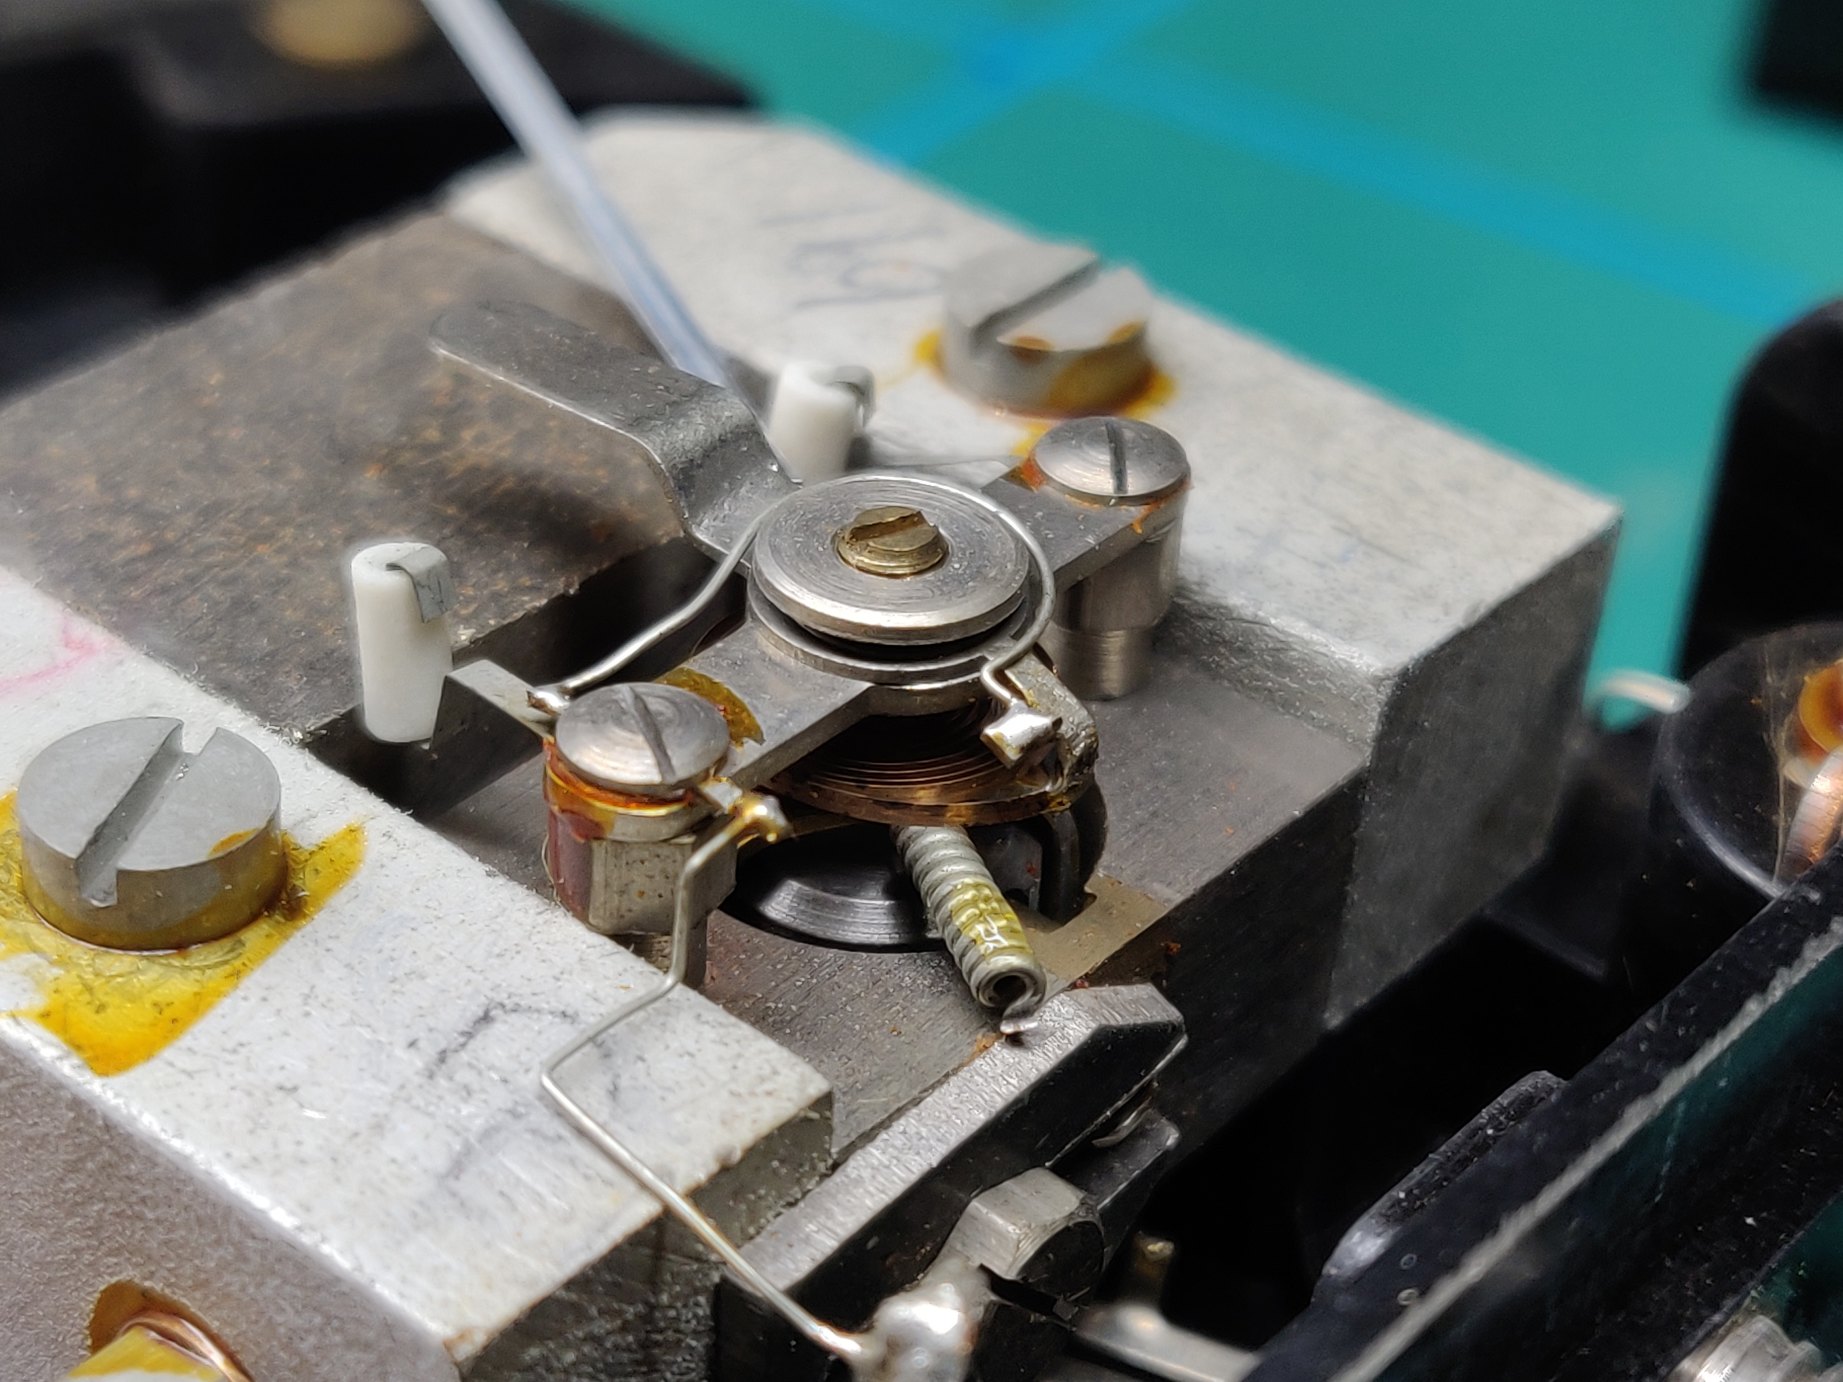
The mechanism is quite a common one, the D’Arsonval movement has a hair spring on top and bottom that push the needle home. Then the current flows through these springs and through a coil around a magnetic core to produce movement from the passed current. Extremely sensitive.
The only adjustment needed here was to screw in the tiny screw on the top of the mechanism a little to reduce play in the mechanism main shaft. Not tight, just enough to stop excessive free play.

It appears that they can calibrate it at the factory by positioning something perhaps. Not entirely sure, and online resources about this construction were minimal.
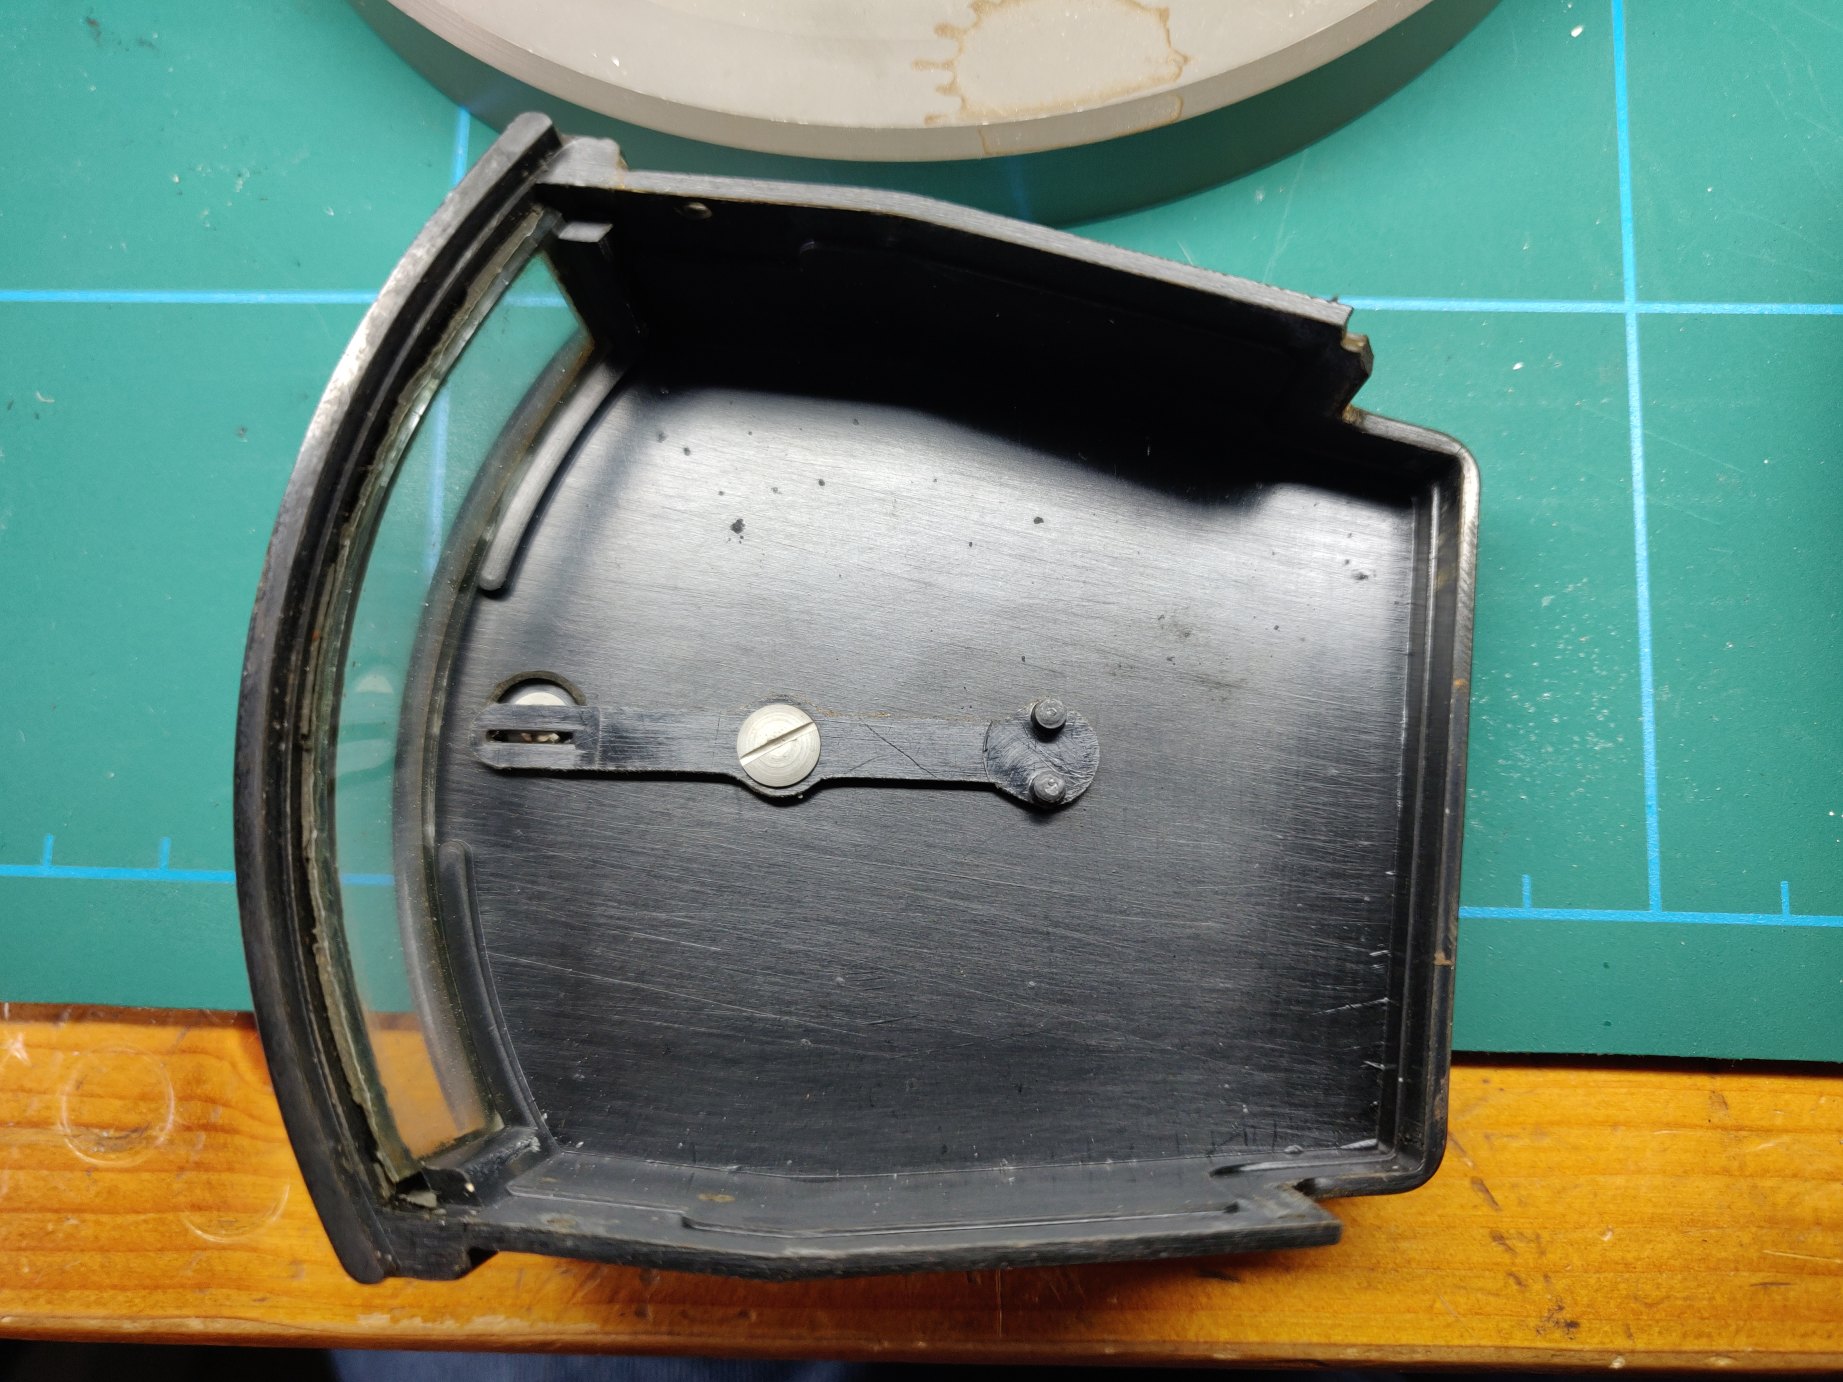
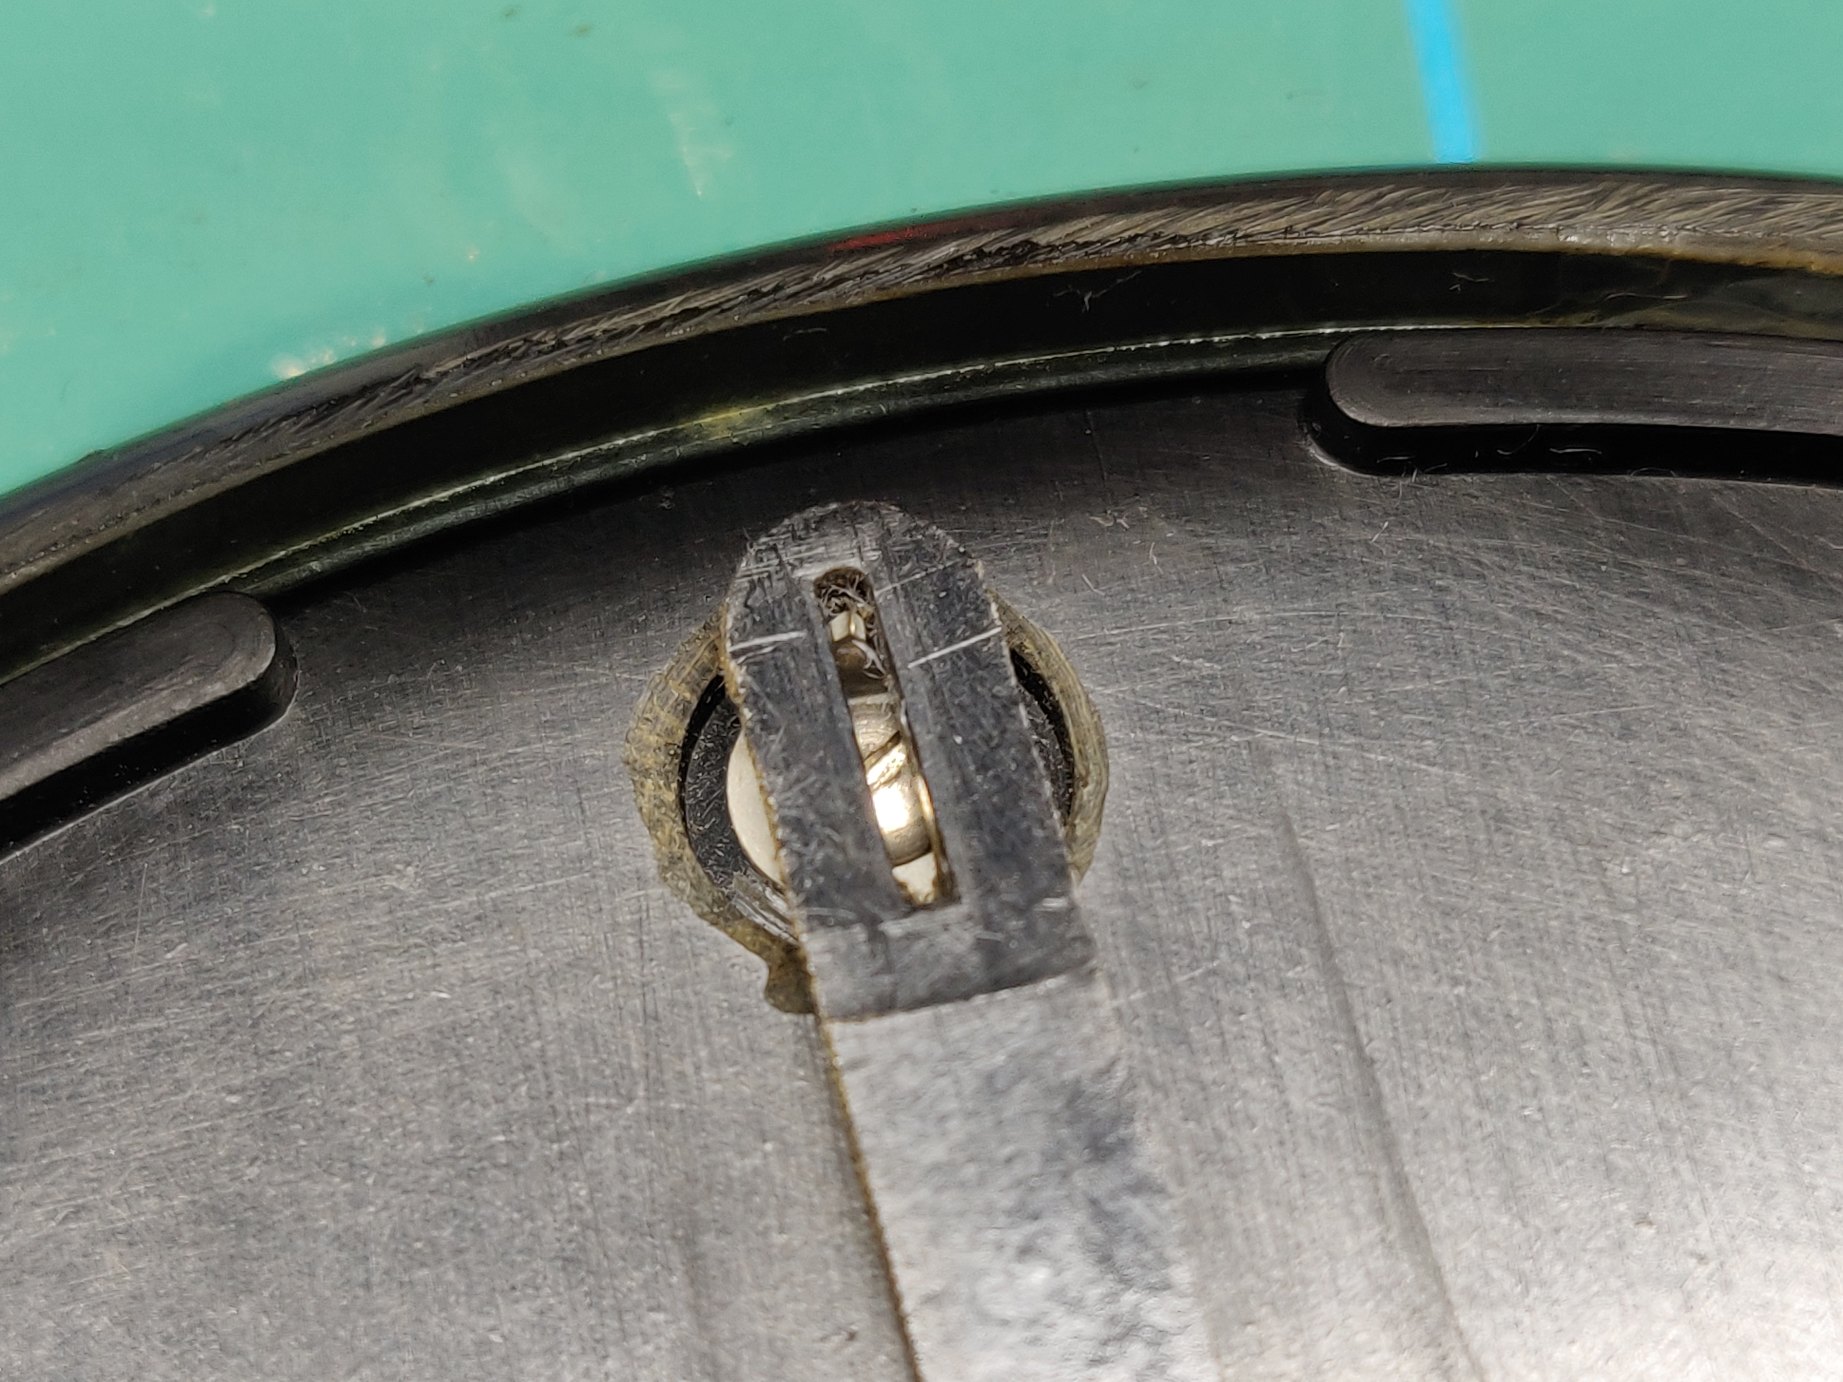
Inside the plastic cover is the mechanism that produces eccentric movement from the outside accessible screw to allow the user to set the meter zero position.
Another arm is available on the underside of the mechanism that could also be used to set the zero position.
My head tells me that you should be able to set the sensitivity of the meter using a combination of these two adjusters, useing both to add tension to the springs or something. But it wasn’t happening so i’m probably wrong.
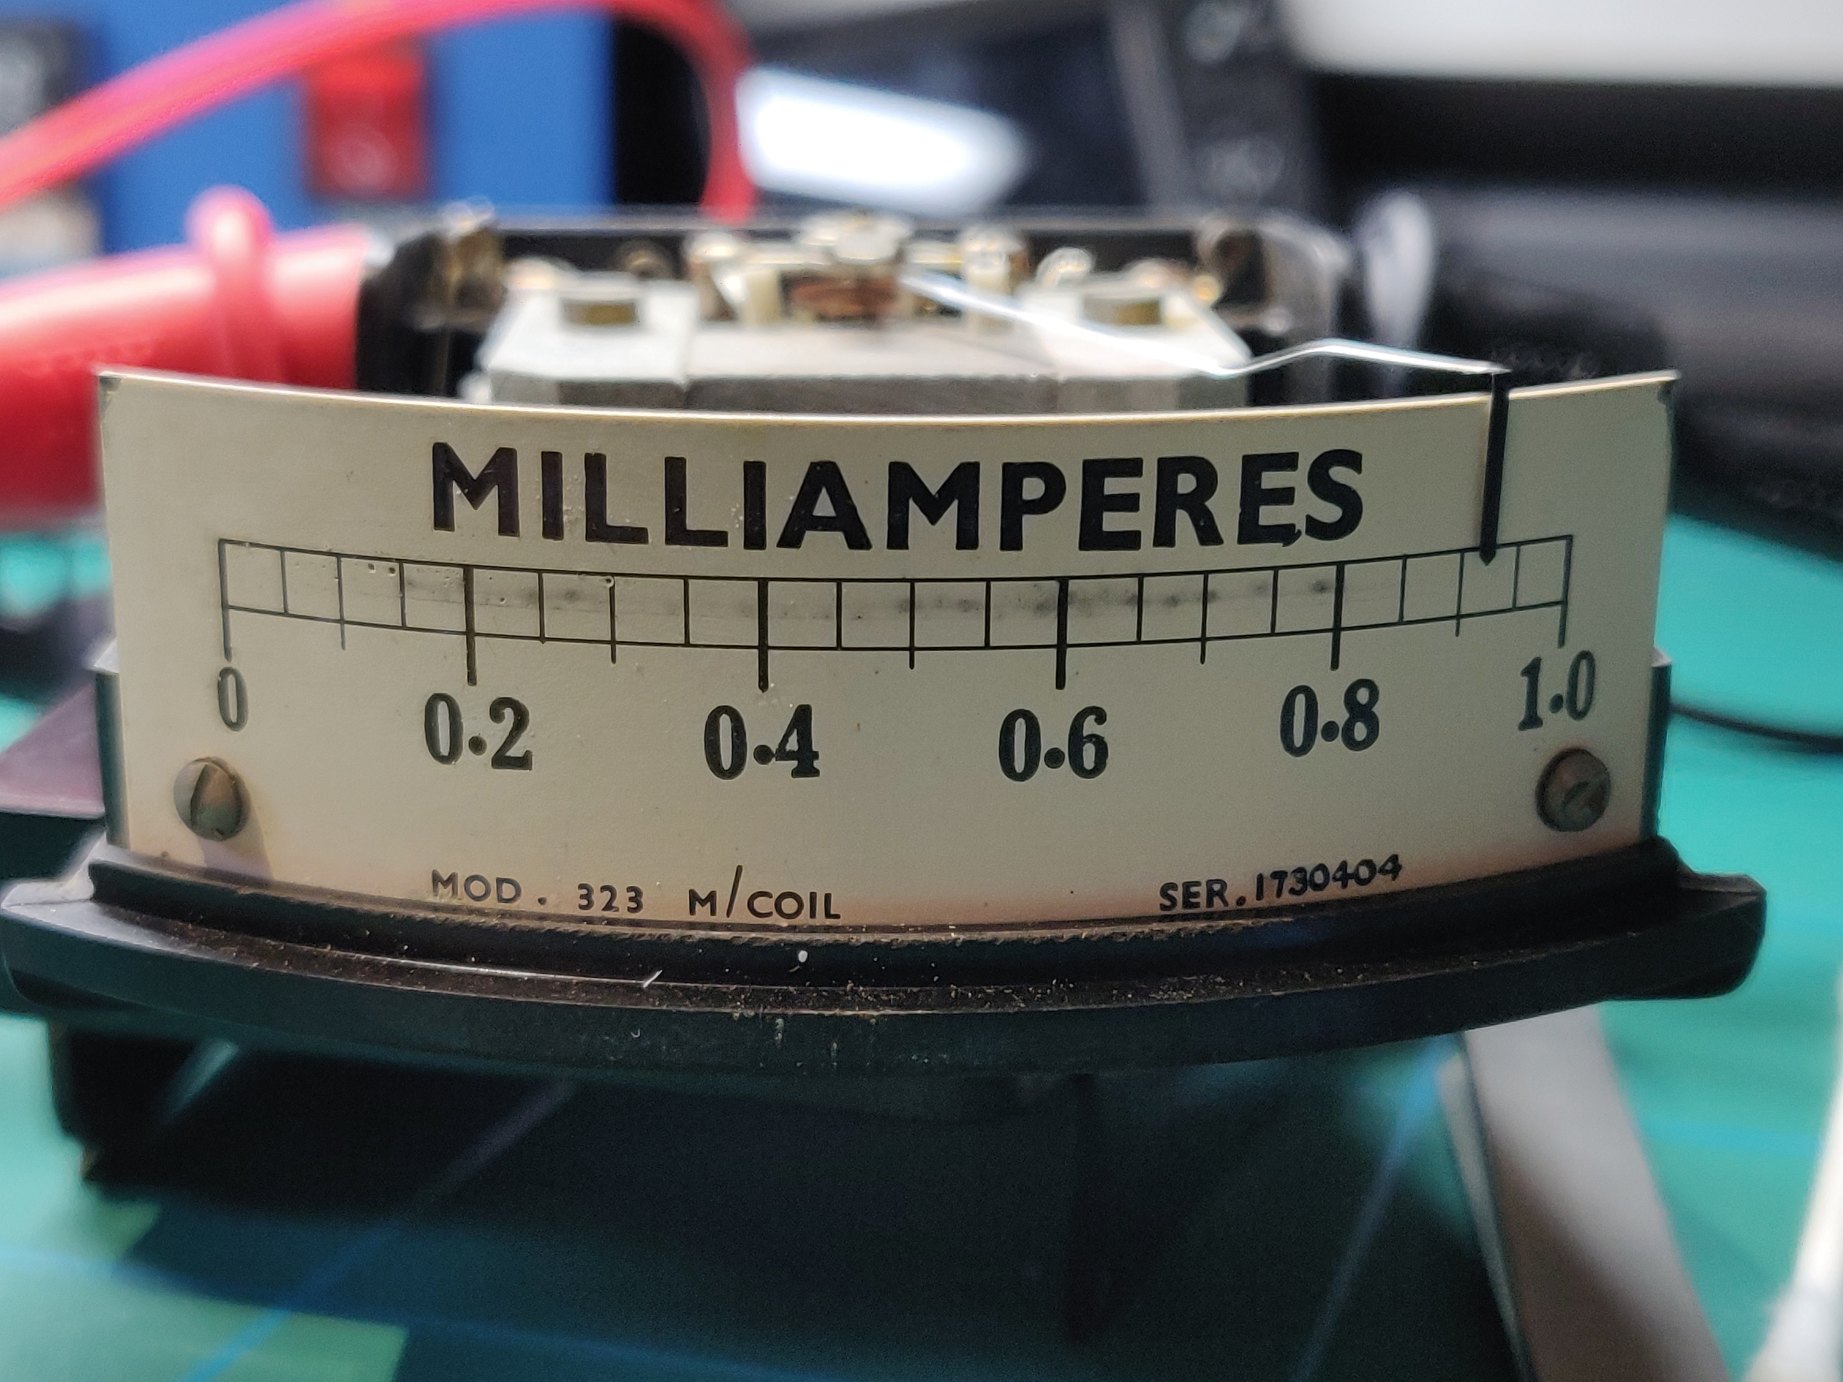
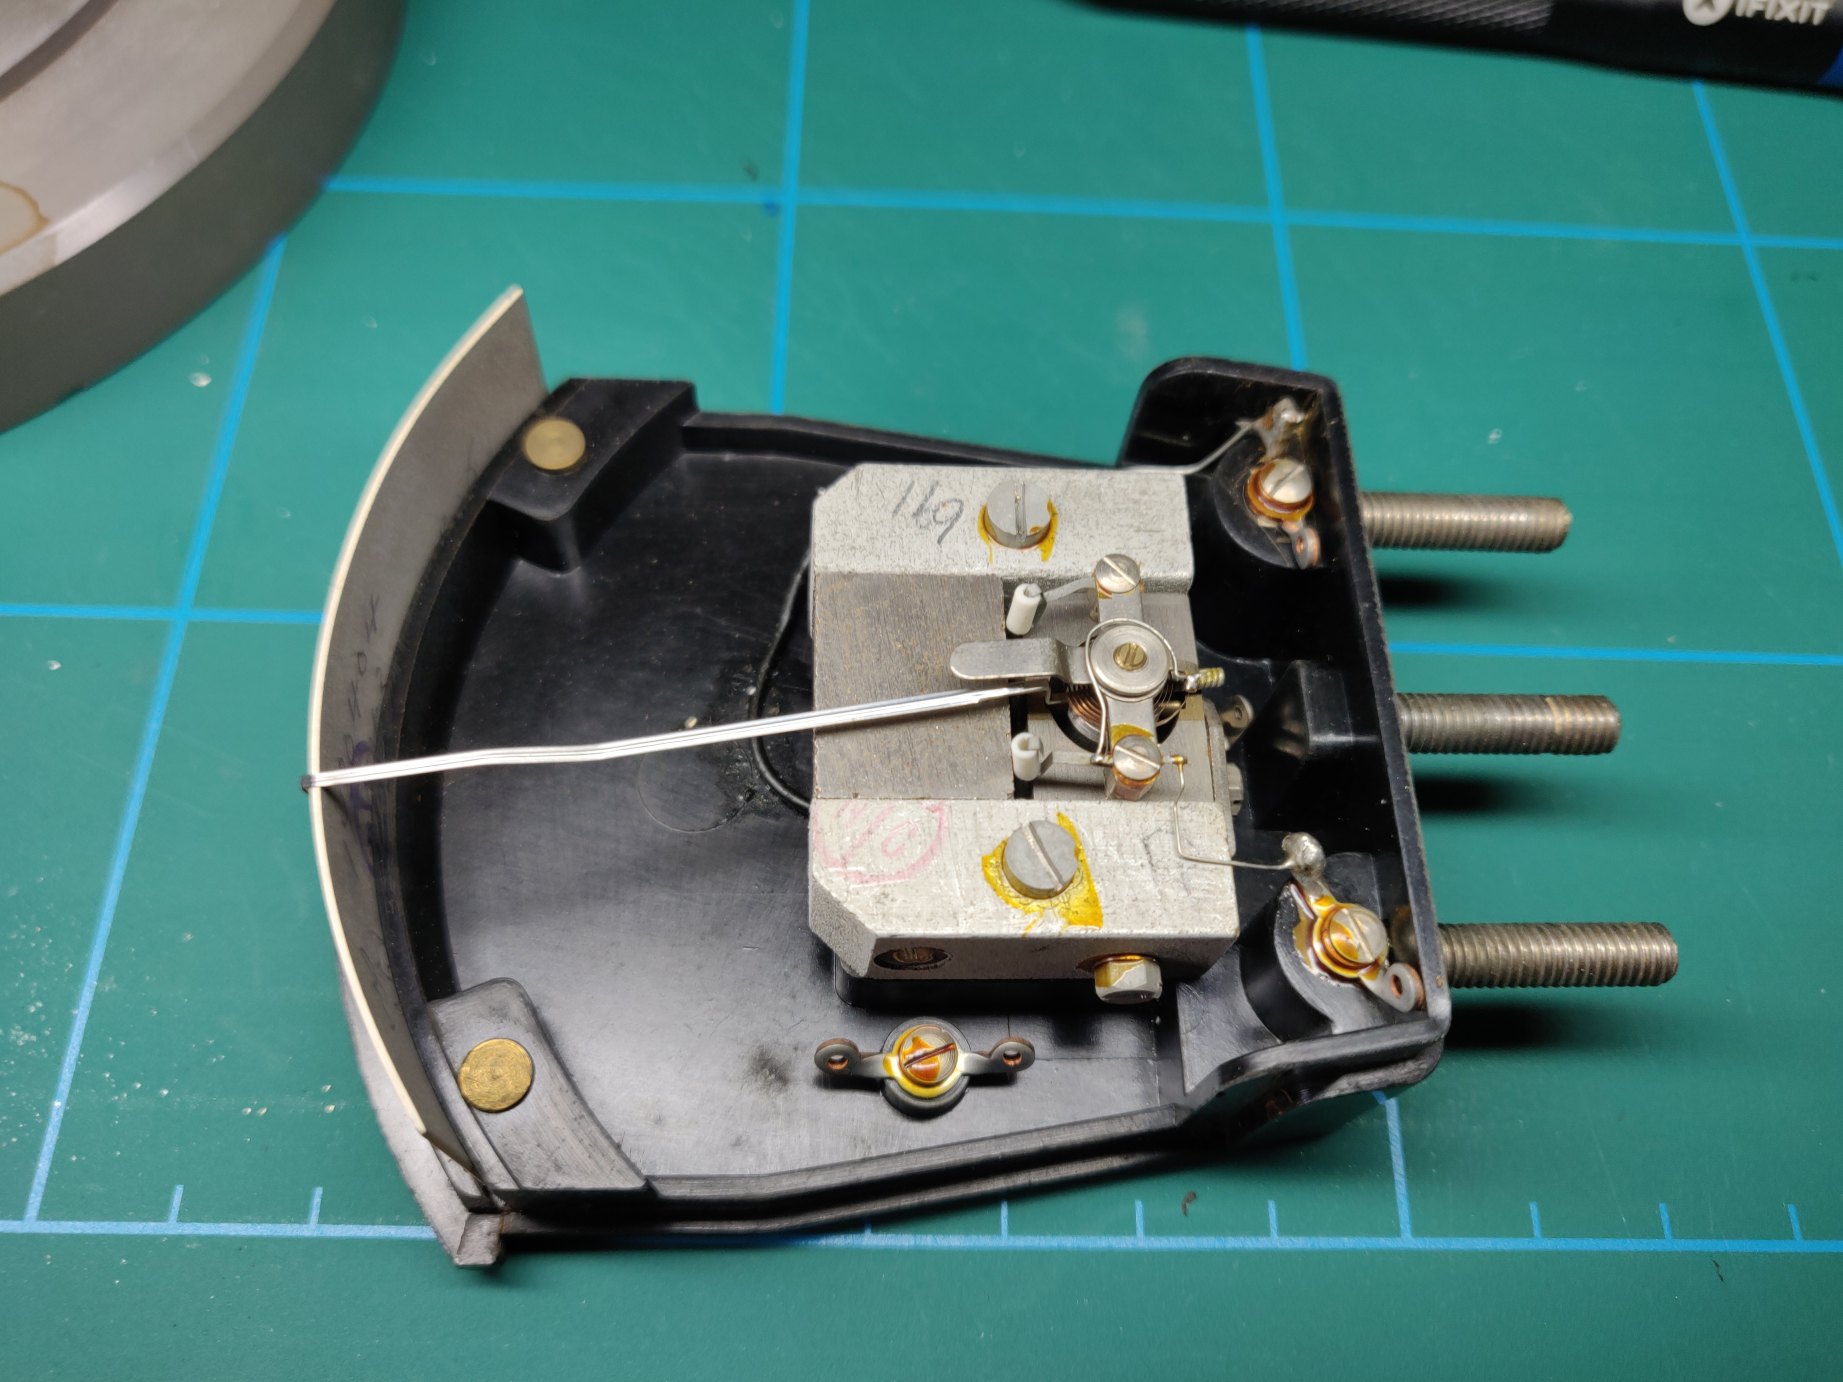
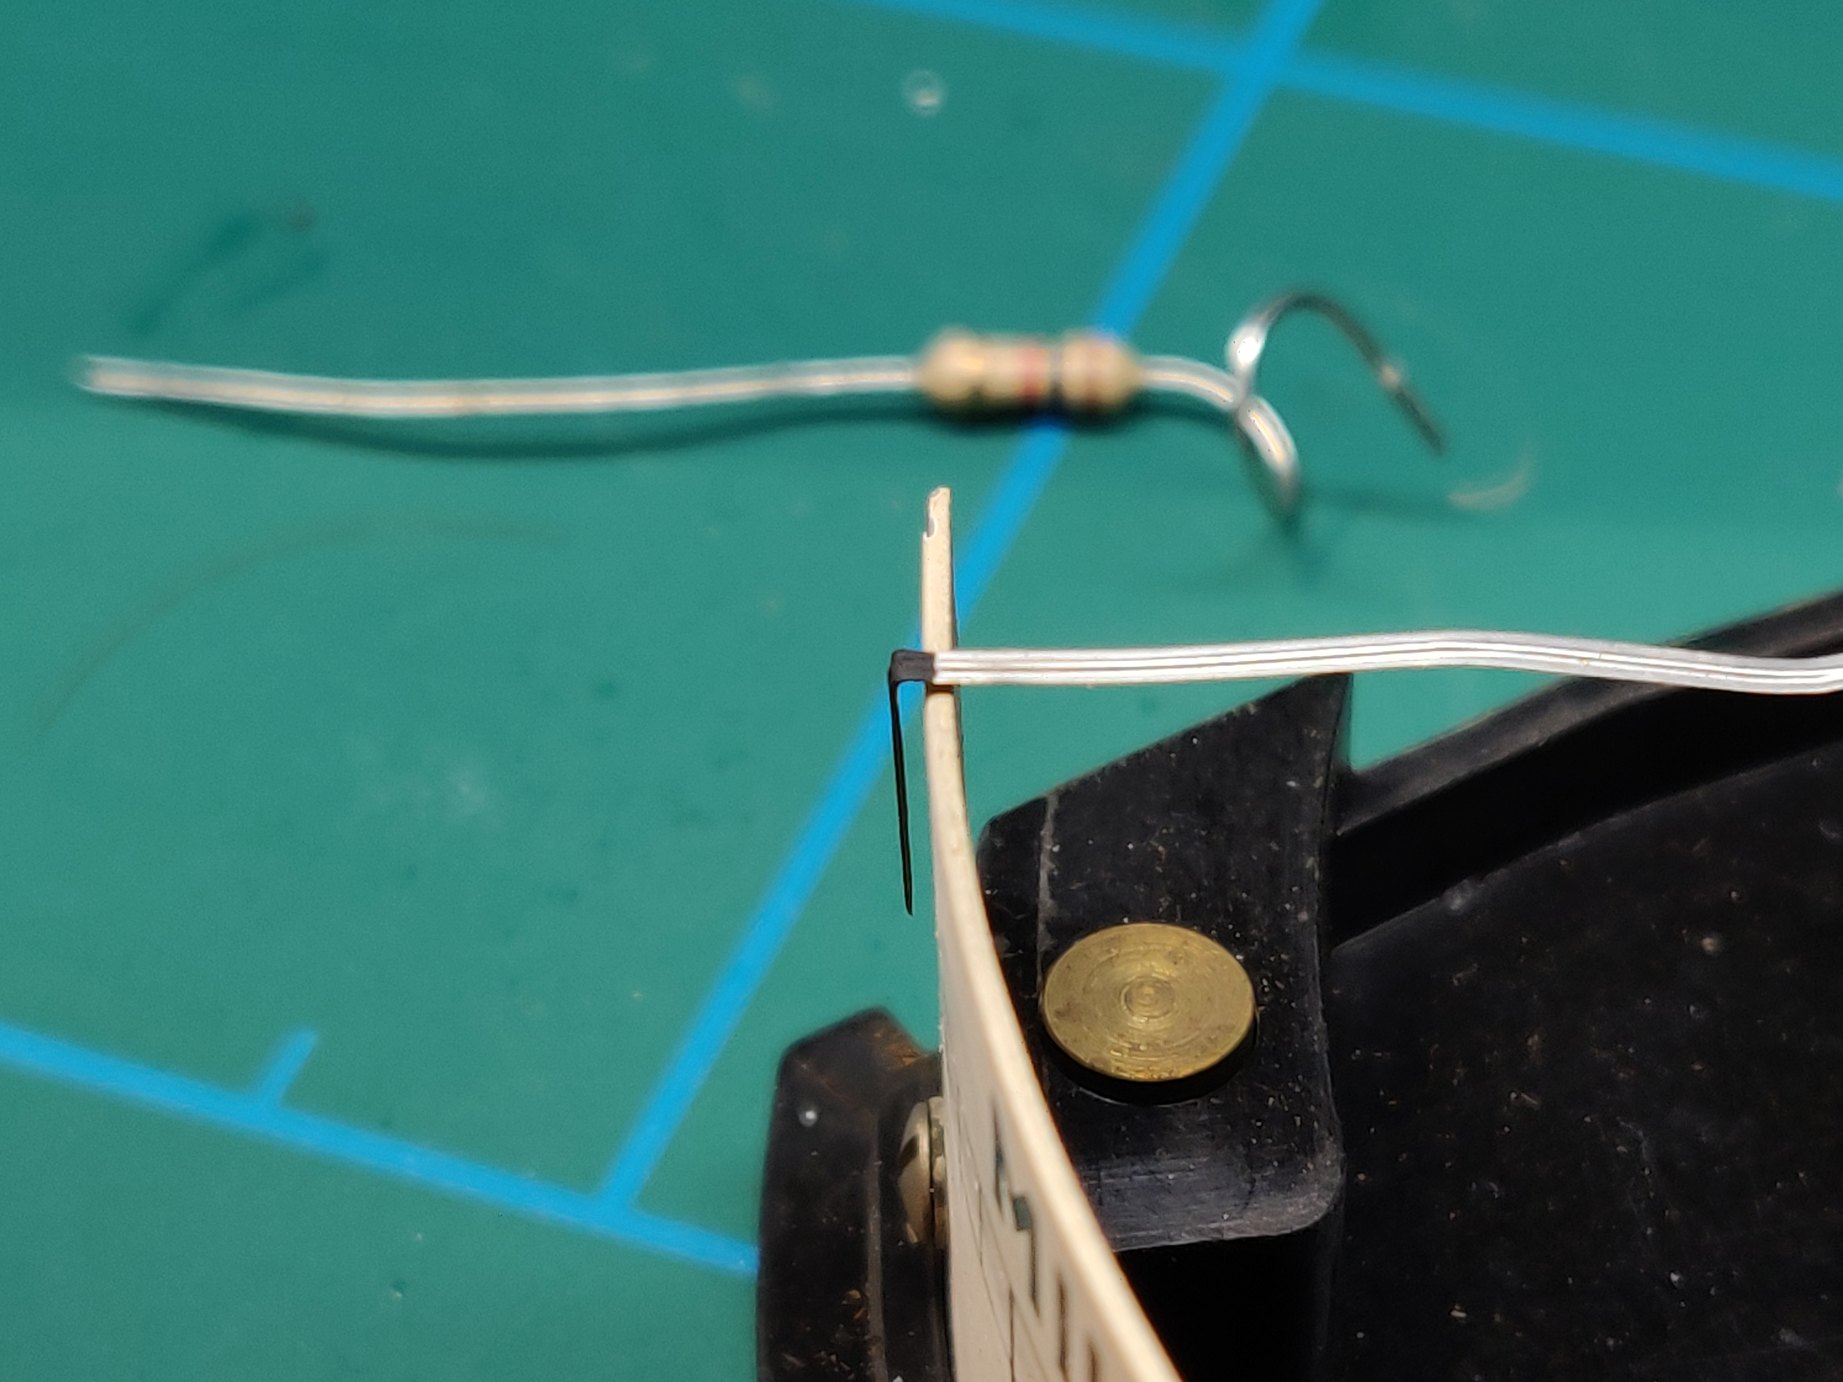

Clearly the indicator has become bent from something. Bending it back to shape fixed everything, but it did take a bit of fiddling since if the pointer is too far from the dial then the shadow makes it look god-awful.
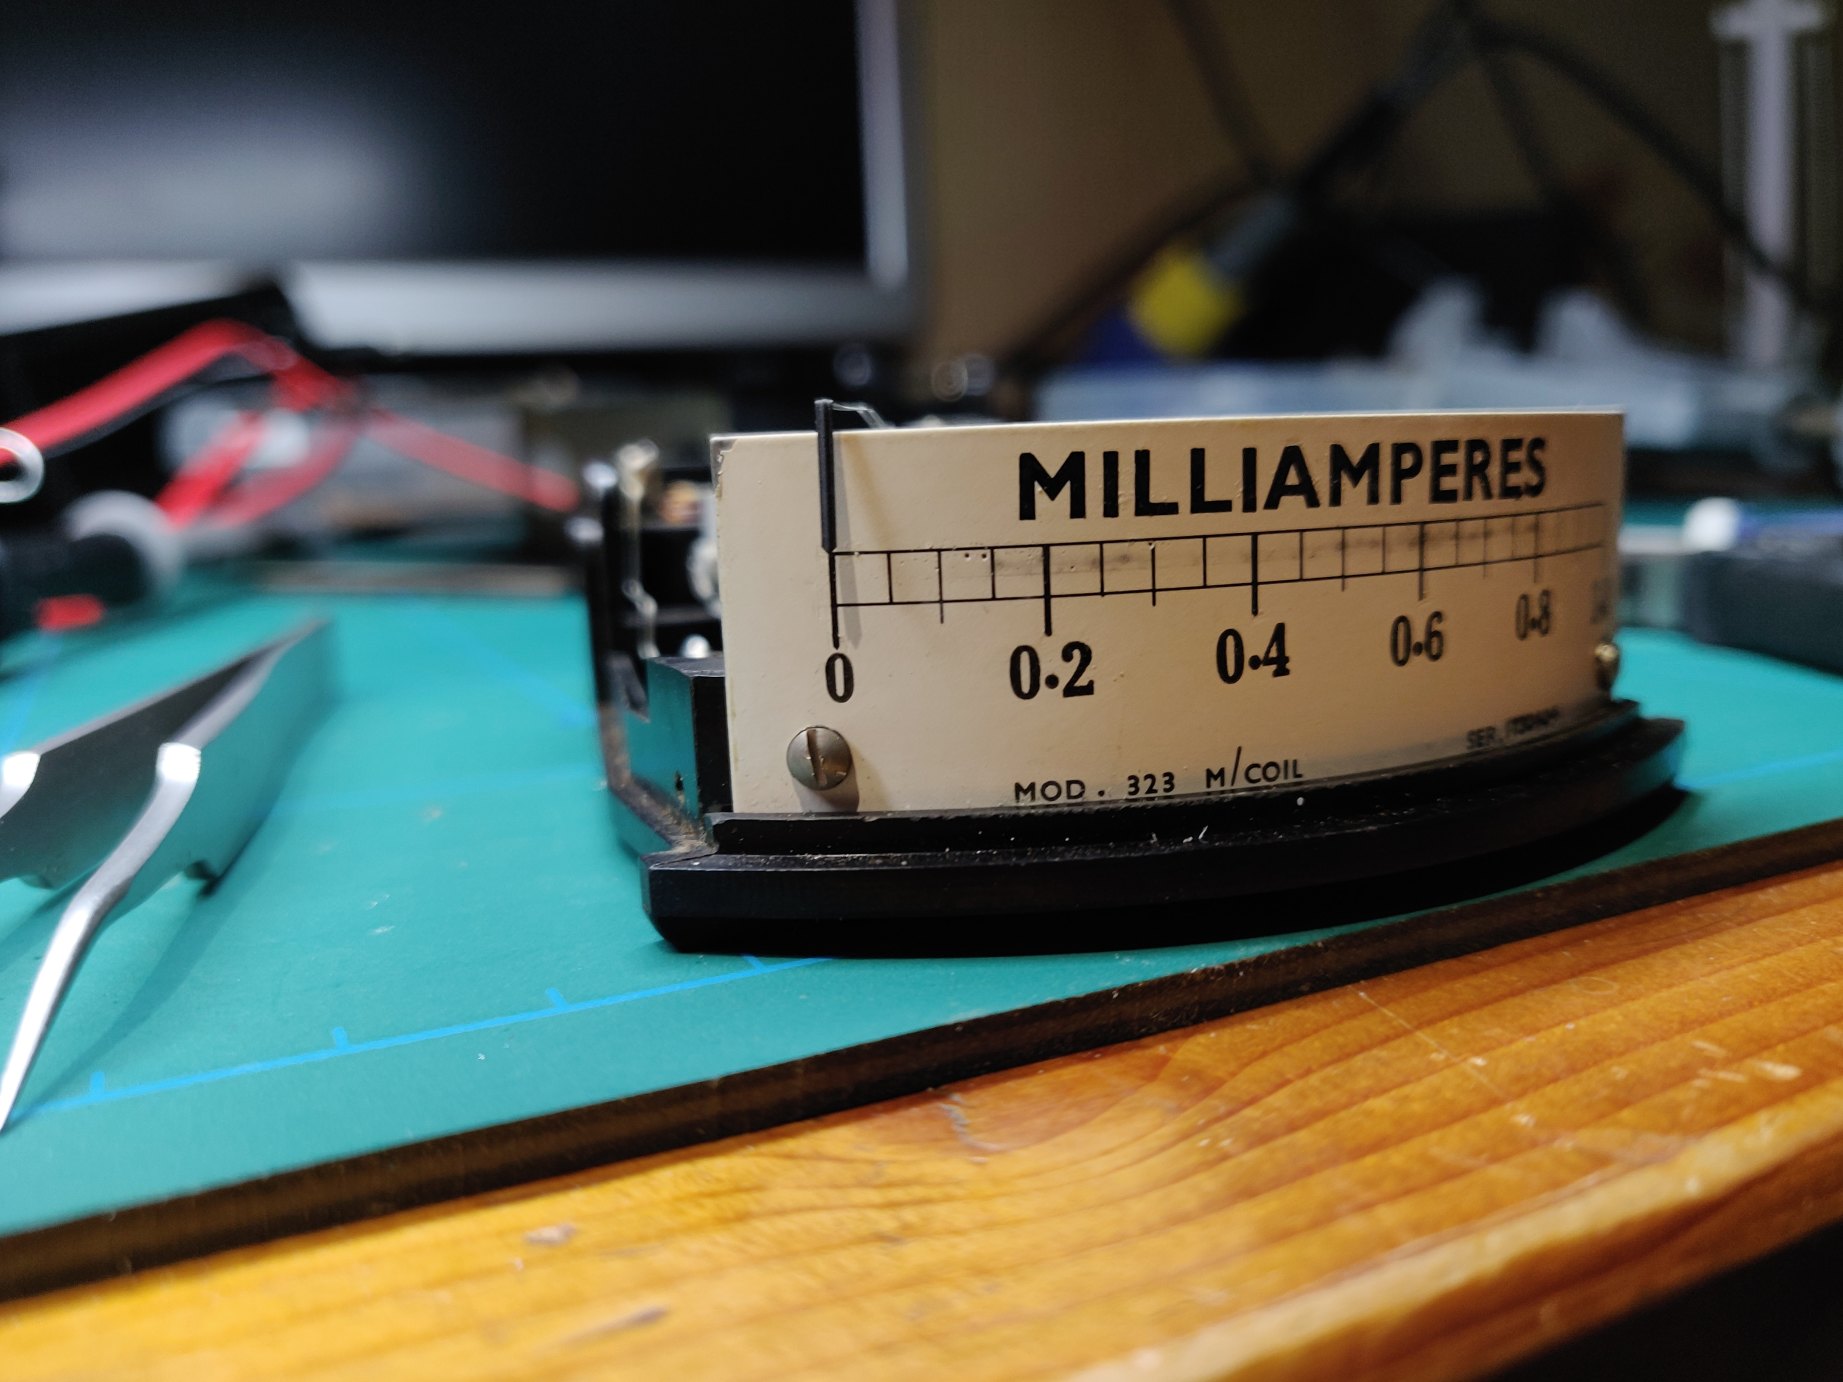
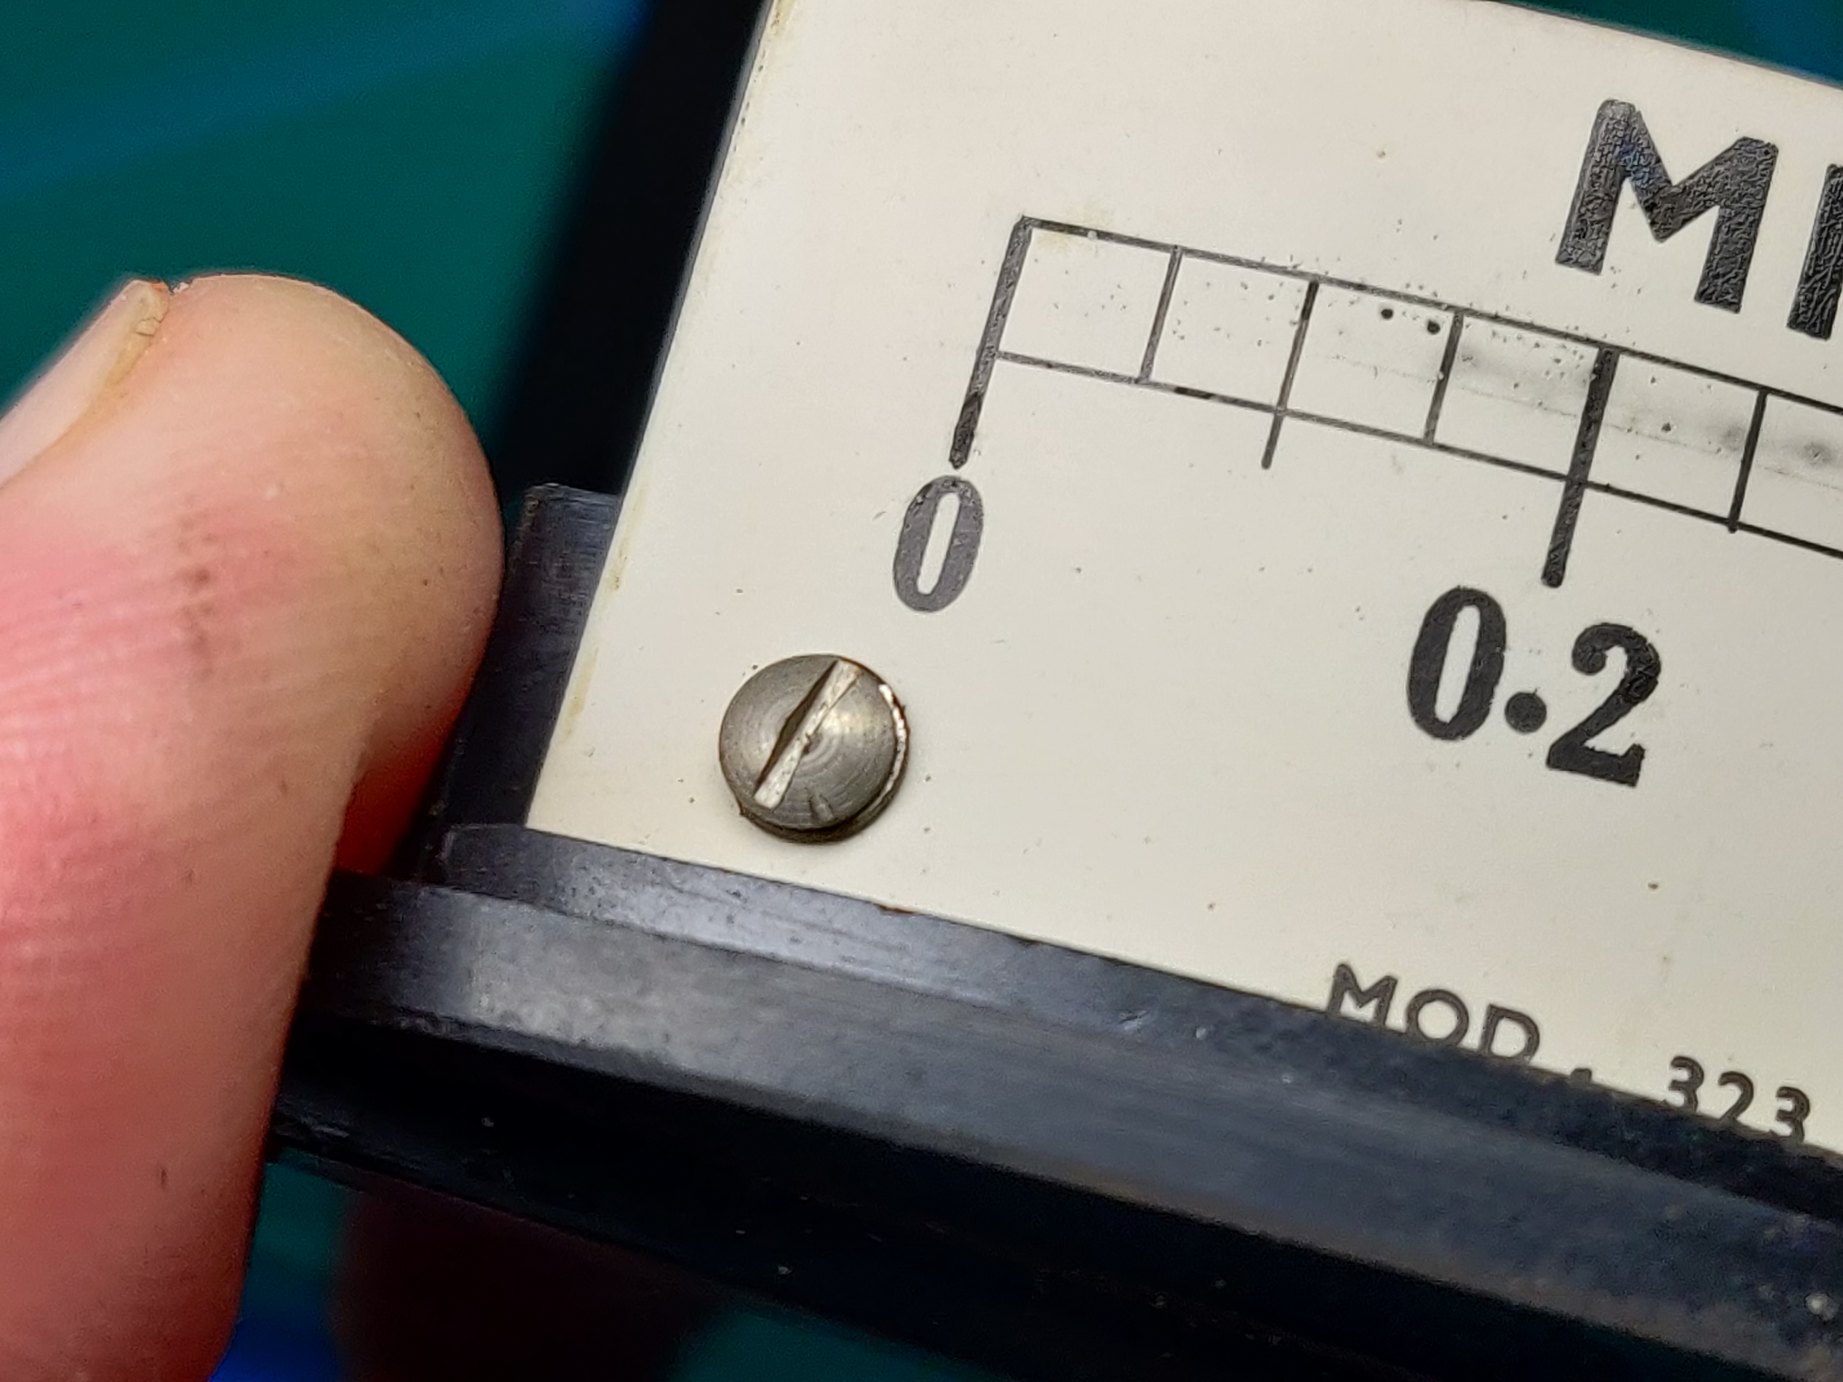
The font meter face is actually quite nice. It’s retained using two small screws (one of which seems to have had an accident at some point?) into some chunky brass inserts in the plastic housing.
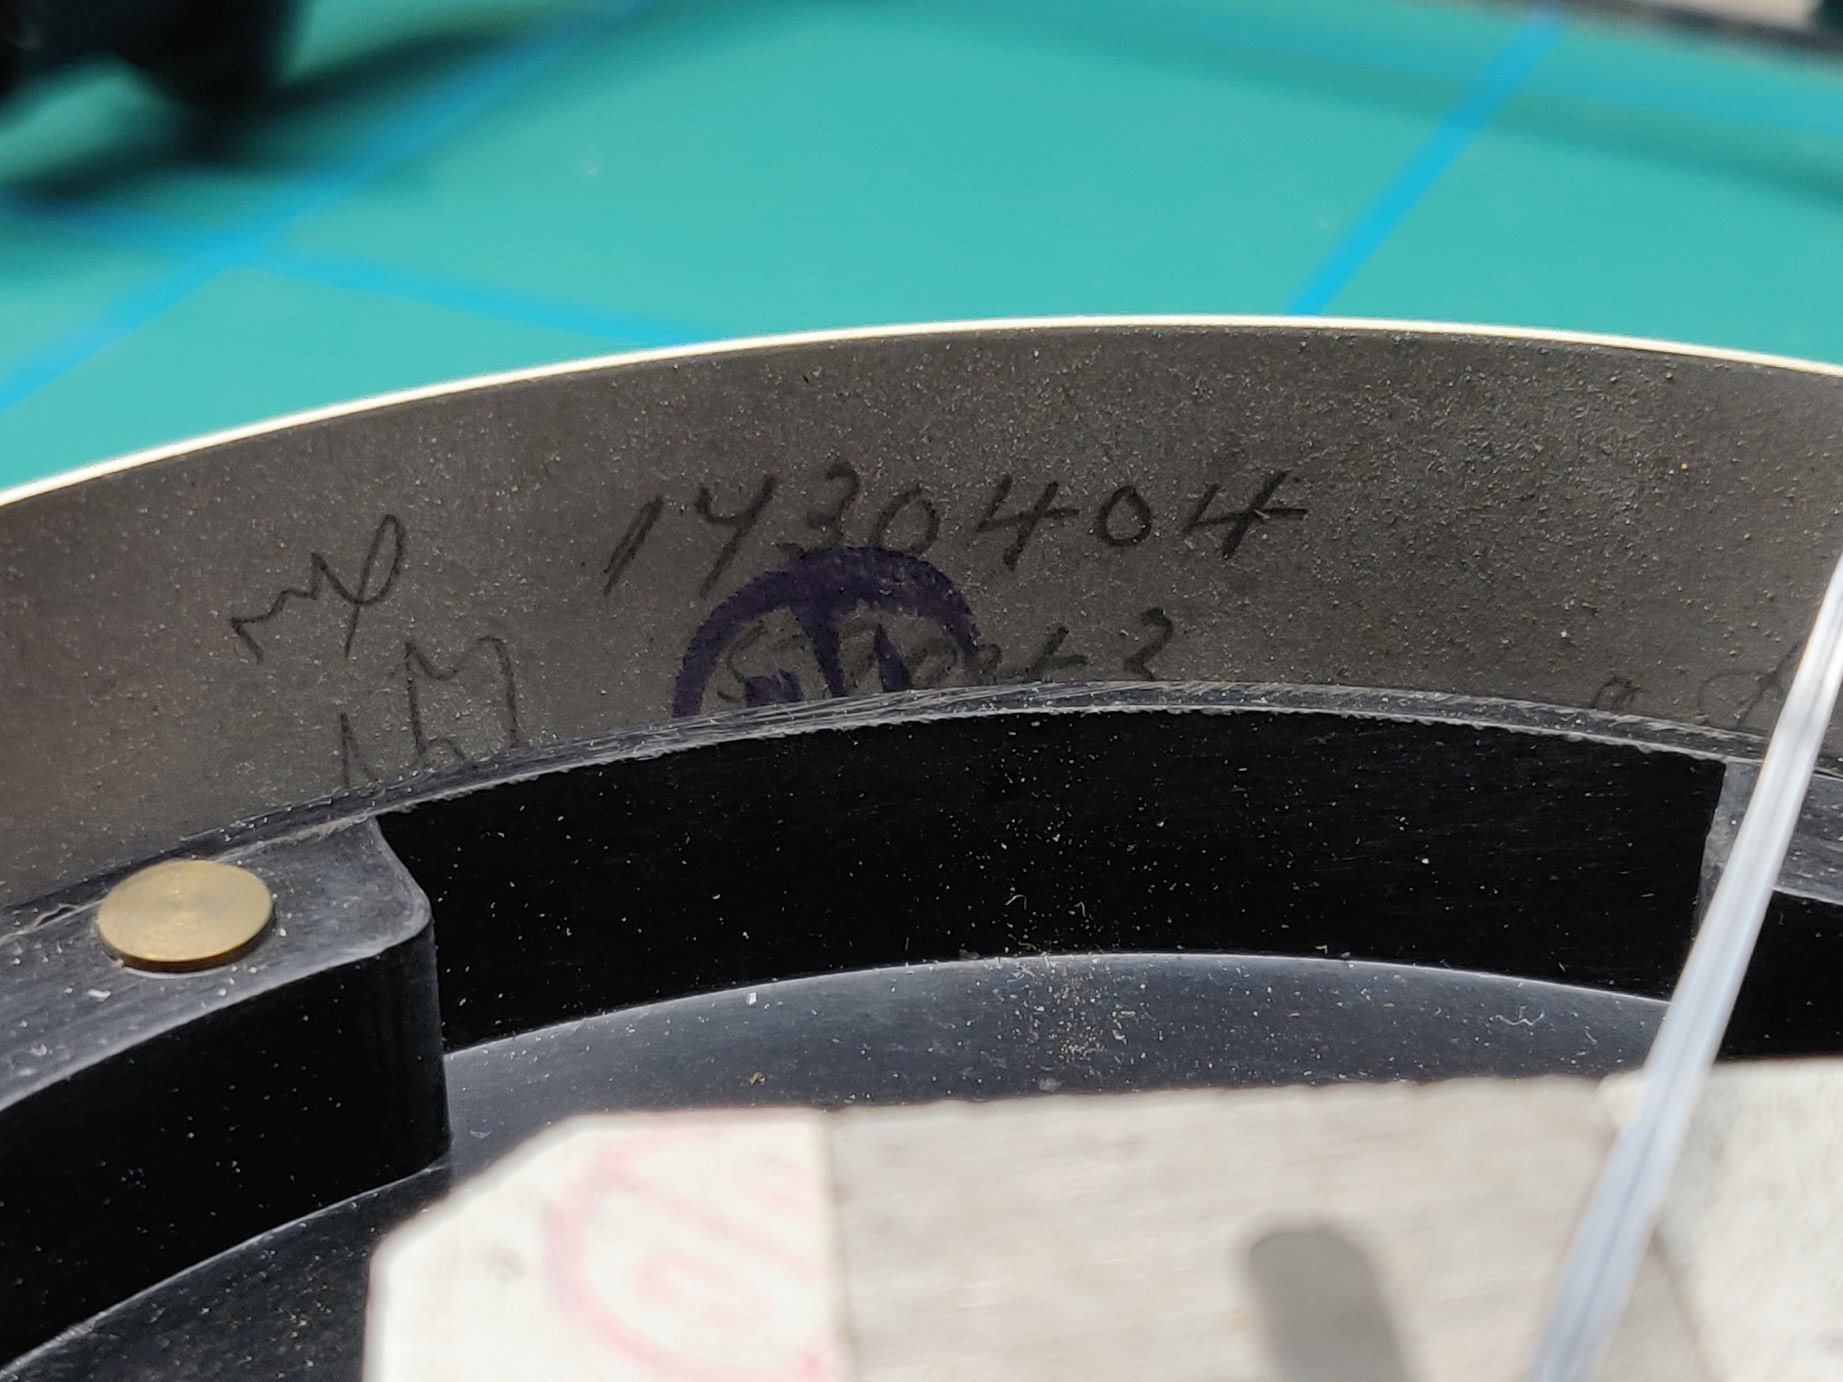
Looks like they used the face plate as somewhere to sign the mechanism off as calibrated/serviced/approved etc.
 In the event the steel clip housing can’t be used in application, a shunt 220R resistor brings the meter back into perfect calibration. With the steel clip fitted, it concentrates the core’s magnetic field increasing the meter’s sensitivity.

 !
!